Can You Heat Press Iron On Patches?
Yes, you can! While sewing patches onto clothing has been the traditional method for attaching them, Heat press iron-on patches offer a simpler, quicker alternative. These patches don’t require any sewing skills—just a heat press or an iron to easily apply them to your fabric.
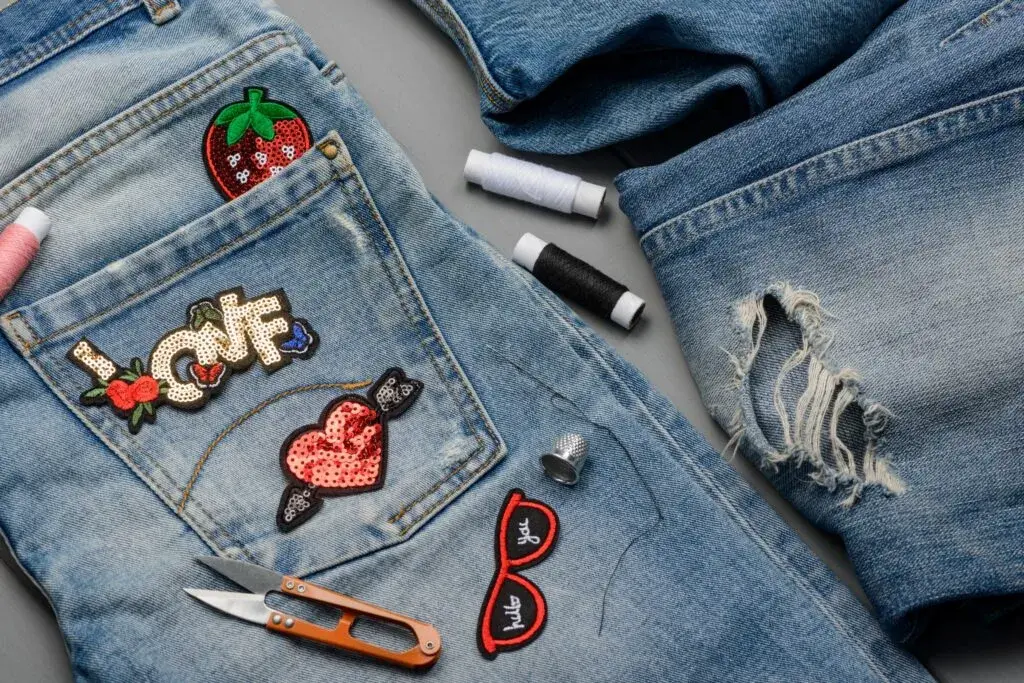
Iron-on patches use heat-sensitive adhesives on the back, allowing them to bond securely to clothing or accessories without the need for needle and thread. They’re perfect for DIY projects, customizing jackets, backpacks, or even hats, and are especially popular for people looking for a hassle-free way to personalize their gear.

What are Iron-On Patches?
Iron-on patches are a convenient and easy way to personalize clothing, bags, or other fabric items. They come with a heat-activated adhesive backing that bonds to the fabric when heated with an iron or heat press.
Are Iron On and Heat Seal Patches the Same Thing?
Regarding patches, you might see the terms’ iron on’ or ‘heat seal’ – or perhaps both together – but they are essentially the same thing. When you see ‘iron on’, it immediately provides a visual interpretation of what people can quickly do at home. At the same time, ‘heat seal’ could be more ambiguous but technically describes the process at play, especially when using a heat press..
When To Choose Iron On Patches
Iron-On Patches: Easy Customization for Everyone
Love the idea of adding a personal touch to your clothes but feeling a little nervous about sewing? Iron-on patches are your new best friend! They're incredibly easy to apply, making them perfect for beginners or anyone who wants a quick and hassle-free way to customize their wardrobe.
Here's why iron-on patches are a great choice:
- Super Simple: No sewing skills needed! These patches attach with the power of heat from your iron.
- Perfect for Beginners: Just follow the instructions, and you'll have a cool, personalized look in no time.
- Fast & Easy: A great option for those on-the-go projects or quick fixes.
But before you grab your iron, keep these things in mind:
Fabric Matters: Iron-on patches work best on heat-resistant fabrics like cotton, canvas, or polyester. Avoid delicate fabrics like velvet, suede, or leather to prevent damage.
Iron-On vs. Sew-On: Picking Your Perfect Patch
While iron-on patches are incredibly convenient, sew-on patches offer some additional benefits:
- Durability: Sew-on patches tend to be more secure and long-lasting.
- Flexibility: You can easily remove them without damaging the fabric.
- Customization: Sewing allows for personalization with embroidery floss!
How to Apply Iron On Patches Using a Heat Press
While using an iron is a convenient method for attaching a patch to clothing, a heat press offers superior results by providing even heat and pressure. If you have access to a heat press, it’s highly recommended. Follow these steps for the best results:
- Set the Heat: Adjust your heat press to a temperature between 360°F and 370°F.
- Position the Material: Place the fabric or item where you want to attach the patch on the base of the heat press. Ensure the patch is positioned correctly, with the design facing up.
- Protect the Patch: Cover the patch with a Teflon sheet or a piece of wax paper to shield it from direct heat and prevent damage.
- Apply Pressure: Lower the heat press handle to apply pressure on the patch for approximately 18 seconds.
- Cool and Inspect: Carefully remove the item from the heat press and allow it to cool completely. Your patch is now securely attached!
Using a heat press ensures a strong and durable bond, making it an excellent option for long-lasting iron-on patches.
Create Your Own Custom Iron On Patch With THE/STUDIO
Why settle for generic designs when you can create your very own custom iron-on patch? Whether you’re aiming to blend in or make a bold statement, a personalized patch can elevate your style and make your clothing uniquely yours. With THE/STUDIO, turning your creative vision into a custom patch, has never been easier.
Whether your design is a masterpiece years in the making or a spontaneous idea jotted down on the back of a napkin, we can transform it into a high-quality, durable iron-on patch in just a few days.
Why Choose THE/STUDIO for Custom Iron-On Patches?
- Fast Turnaround: Get your custom patch ready to apply in just days.
- Unlimited Design Options: Bring any design to life, no matter how intricate or simple.
- Premium Quality: Our patches are made with top-quality materials that last and stay vibrant.
Ready to add a personal touch to your clothing and accessories? Let your imagination run wild, and we’ll take care of the rest. Create your customized iron-on patch with THE/STUDIO


