How to Design a Great Enamel Pin – A Guide for Designers and Non-Designers
Thinking of designing and selling custom pins?
Sounds like an awesome plan! Nowadays, it’s easier than ever to start a business selling high-quality custom pins. Partnering with a great pin manufacturer can take most of the production concerns completely off your plate, and quick shipping and low MOQs make it so even small-scale creators can access top global factories.
But producing great pins is only part of what it’ll take to start a profitable business.
You’ll also have to figure out what type of pins you’ll sell, identify your niche market, and learn how to design an attractive enamel pin.
Because here’s the thing… While there’s a huge market out there for beautiful custom pins, it’s really hard to sell a boring or ugly pin!
If you’re a designer who already sells their art on stickers, prints, or custom patches, you may already have a few ideas of designs you’d love to see in full color on an enamel pin. But you should still be aware of the fundamentals of good pin design if you’ve never tried your hand at producing enamel pins before.
If you’re not a designer… good news! You really don’t have to be a pro designer to design an awesome pin.
If you stick to the basics, you can design one yourself… even if you have no drawing skills to speak of.
And if you REALLY don’t have the artistic chops (or the confidence!) you can still get expert design help included with production, as long as you choose a manufacturer with in-house designers and free design services.
As long as you’ve got the right vision in your head, you can use THE/STUDIO’s DIY online product creation tool to create a beautiful, affordable, best-selling enamel pin.
Let’s go over a few questions to consider before you start working on your enamel pin design, the fundamentals of good pin design, and how to design a great enamel pin (whether you’ll be doing the design work yourself or you’ll be relying on an expert).
Design Questions to Consider

Before you start doodling, dreaming, and designing, it’s a good idea to iron out a few details first. Take a moment to brainstorm about what your pin will be used for, your sales strategy, and the aesthetic you’re trying to achieve. That way, once you do pick up your pencil, you’ll have a better idea of how your pin design will fit into your entire business and marketing goals. Here are four key design questions to consider:
Kickstart your designs with AI
Leverage the power of AI to streamline your design process,
turning your ideas into polished, production-ready products with ease.
What will you use your pins for?
Some business owners create custom pins to personalize jackets, hats, bags, or other merch to sell. If that’s your strategy, be sure to have a clear idea of what you’re going for. What sort of items will you be placing these pins on? Are you aiming for a retro, girly, or artsy vibe… or something else entirely? Will your patch designs best translate with full-color enamel, or would you prefer to go with a metallic, textured look? Understanding how your pin will fit into the rest of the look could influence your final pin design.
What will your customers use your pins for?
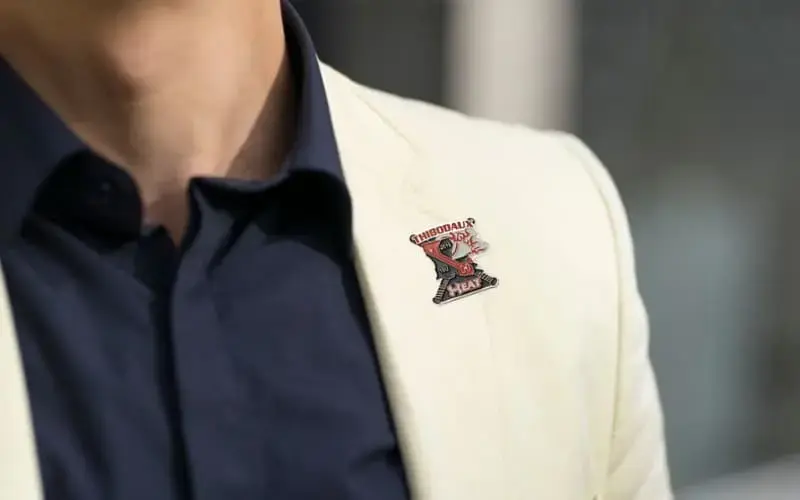
Sure, you’re not a mindreader… but if you’ve done your job right, you should have a very clear idea of your niche market you’ll be selling to and what exactly most of your customers will use the pins you sell for. Will they use your enamel pins to decorate the backpack they take to school each day? Their carry-on luggage? A lightweight tee? A lapel on their suit coat? The pocket of their denim jacket? Creativity is important, but these factors can and should impact your pin design.
How big is your pin going to be?
In this case, size does indeed matter. During the customization process, you’ll have the chance to choose the exact dimensions of your pin – and production will go much more smoothly if you keep the size in mind as you design. Make sure that any details or words are large enough to translate in the pin design you choose. Take note of the shape you’ll choose as well – many pin manufacturers are capable of producing enamel pins of any shape, but you might find yourself paying extra if it’s a really unique shape.
How will your pin fit in with everything else you sell?
If you already have an online store where you sell other custom or wholesale merchandise, consider how your new custom pins will fit in with the rest of your products. Would your existing customers be interested in these pins? What sort of designs would fit into the brand you’ve created for your shop?
Fundamentals of a Good pin design
Whether you’re very familiar with designing custom products or you’ve never done anything artistic in your life, it’s good to head into your project with the fundamentals of good pin design in mind. Due to construction, size, and materials, pins are very different from other custom products like patches, prints, or screen-printed tees. Here are a few pin-specific design pointers to keep in mind:
1. Use Lines Wisely
If you choose to create a traditional soft enamel pin, all of the lines in your design will be a raised metal line in whatever type of metal or finish you choose. Keep that in mind as you sketch out your design and be sure any colors work with the metal finish you’ll use. If you’d prefer to have fewer metallic lines throughout your design or less texture, consider creating a hard enamel pin.
2. Keep It Simple
Pins are small – and the details on your pin will be even smaller. Thin or intricate lines typically don’t translate very well in this medium since small lines can often blend together in the production process. Go for clean lines, solid colors, and no complex shading.
3. Size
Make sure the size of your pin goes along with the overall design as well as your pin’s intended use. For example, a 5-inch lapel pin isn’t going to be very useful! Smaller pins are typically more wearable and less expensive, though they can accommodate less detail.
4. Use an Eye-Catching Color Scheme
Enamel pins were made to stand out! If it works for your brand and the aesthetic you’re going for, use bold contrasting colors in your enamel pin. Keep in mind that using tons of colors might cost extra – while THE/STUDIO allows you to include 21+ colors in your pin if you’d like, designs that incorporate 5 or fewer colors cost the least.
5. Make Sure Text is Clear
There’s no point in including words on your enamel pin if they aren’t readable. Keep text to a minimum, and use a large, bold font that’s clearly legible.
6. Design with Your Pin Type in Mind
THE/STUDIO offers not one, not two, but SIX different types of custom pins to choose from. While each of them serves a similar function – allowing your customers to decorate their clothing or accessories – they each look very different from each other even before customization.
If you already have your heart set on creating an enamel pin, you’ll still have to choose between soft enamel pins created by pouring colored enamel between metal lines or hard enamel pins that are polished flat across a design’s surface.
If you’re going for a textured metallic pin with no color, a die-struck pin or a 3D mold pin might be a better option.
If you’re looking for a high level of detail, an offset printed pin with a thin or thick epoxy coating might be the best option.
Learn more about different pin types here.
How to Design a Great Pin: For Designers
Learn how to create a best-selling pin using your own design expertise and THE/STUDIO’s online product creation tool.
1. Get inspired
Start brainstorming design ideas for your pins! Consider whether you’ll sell this pin on its own, already affixed to a different product, or in a collection. Think about how your customers might style it. Gather inspiration from social media as well as competitors’ pins. Though you’ll certainly want to make sure your final design is completely original, it’s totally okay to get inspired by what’s already out there.
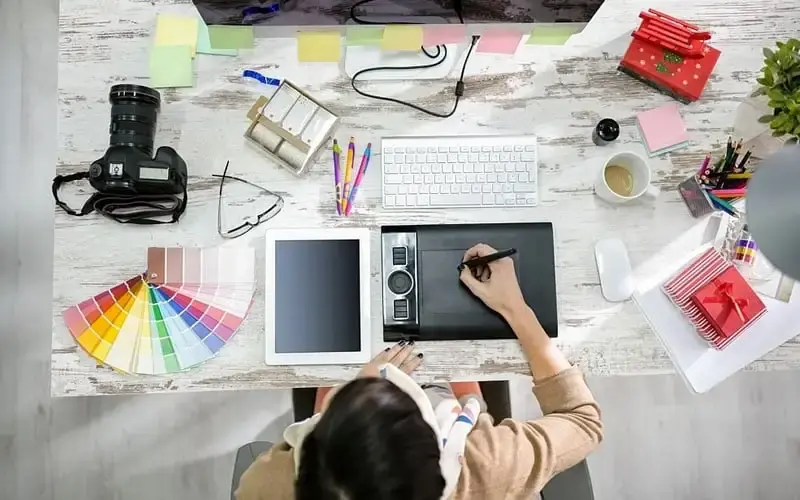
2. Start doodling
Start designing, however you prefer to do so. Sketch with a pencil and paper, doodle in Procreate, build out your design in Illustrator… whatever’s most natural for you. Just be sure to keep the fundamentals of good pin design in mind as you create. Feel free to polish your design as much or as little as you’d like – even if you just submit a rough sketch, our designers can take your designs and bring them to life.
3. Create your pin
Use THE/STUDIO’s DIY product creation tool to build out your pin. You’ll start by customizing the size and type of your pin, along with colors, materials, and extra add-ons you may not have ever considered. All of these will influence how your pin ultimately looks! Then, you’ll submit the design you’ve been working on as a PDF.
4. Approve a sample
THE/STUDIO’s team of expert designers and manufacturers will take all of the information you’ve provided and turn it into a real-life pin. Then, they’ll send a photo sample or physical prototype for your approval.
If all looks great, your pin will move forward to final production.
If you need to make a few tweaks, you can change your initial design or send feedback to the production team. Any changes are free of charge.
5. Receive & style your pins
After approving the final design, you’ll get free domestic U.S. shipping on the rest of your order. Then, you’ll just have to style them so they look their best! With your design skills and THE/STUDIO’s high level of enamel pin quality, they’ll virtually sell themselves.
How to Design a Great Pin: For Everyone Else

Learn how to design a fabulous enamel pin using THE/STUDIO’s online product creation tool and free expert design services.
1. Get inspired
Sure, you’ll be leaving most of the design work to the experts… but that doesn’t mean you’re off the hook. Do your best to get a clear picture of what you’d like the end product to look like. Even though you’re not a designer, you should still have a good idea of what your customers are looking for.
Brainstorm ideas for your pins, think about how you’ll sell and use your pins, and gather inspiration from Pinterest, Etsy, other pin shops, and social media.
2. Get your ideas down on paper
Now, it’s time to write or doodle your ideas down. (Don’t worry, the designers at THE/STUDIO won’t judge!) Don’t be too concerned if you can’t translate whatever’s in your head perfectly – just try and do a thorough job so the designer you hand the work off to will have a good idea of your vision. You might sketch out your designs, write out a detailed description, or send a few examples of pins you like and what you like about them. THE/STUDIO’s team of expert designers will take whatever ideas you send over and bring them to life.
3. Create your pin
Use THE/STUDIO’s DIY product creation tool to build out your pin. You’ll have the chance to customize both the type and size of your pin, along with colors, materials, and extra add-ons that will influence how your pin ultimately looks! Then, you’ll submit whatever design files you have to our team of expert designers and they’ll create a beautiful pin design from it.
4. Approve a sample
THE/STUDIO’s team of expert designers and manufacturers will take everything you’ve provided and turn it into a real-life pin. Then after a short turnaround time, you’ll receive a physical prototype or photo sample for your approval.
If all looks great, the team will move your pin forward to final production.
If you see a few things you’d like changed, send detailed feedback. Any revisions to your pin or design are totally free of charge.
5. Receive & style your pins
Once you’ve made any desired changes and approved the final design, you’ll enjoy free domestic U.S. shipping on the rest of your pin order. Then, you’ll just have to help your beautiful pins look their best so they’ll sell out!
Start Designing Your Enamel Pin

Ready to get started? Using THE/STUDIO’s DIY product creation tool, you can design a beautiful, high-quality custom enamel pin in just a matter of minutes, no design experience necessary. All custom-made pins come with free domestic U.S. shipping, low MOQs, fast turnaround times, and a 100% satisfaction guarantee. Start the process here.
Want to learn more about how to create a best-selling pin? Read the blog here.