How to Get an Embroidered Patch Off
Embroidered patches are a fantastic way to personalize your favorite bags, hats, and jackets. However, what happens when you're ready for a change? Removing an embroidered patch without damaging your apparel might seem daunting, but it's easier than you think.
Sticking custom embroidered patches onto your bags, hats, jackets, and other apparel is a great way to accessorize. This guide provides simple tips for safely removing embroidered patches, allowing you to refresh your look and keep your favorite items in pristine condition.
So You Want to Remove an Embroidered Patch
We know that sometimes it’s time for a change. Whether you’re looking to update your design, replace a custom patch, or move your patch to a new item, one key factor comes into play: the backing.
The process for removing an embroidered patch depends on the type of backing it has—whether it’s iron-on, sew-on, or another style. Before you get started, it’s essential to identify the backing type on your patch to ensure a smooth removal process without damaging your garment.
Kickstart your designs with AI
Leverage the power of AI to streamline your design process,
turning your ideas into polished, production-ready products with ease.
How to Remove an Embroidered Patch w/ Iron-On Backing
What You’ll Need
- An iron (yes, it may seem counterintuitive)
- A thin piece of cloth
- Wax paper
- An ironing board (or a towel as an alternative)
- Tweezers
- A rag
- Scissors
- Liquid adhesive remover
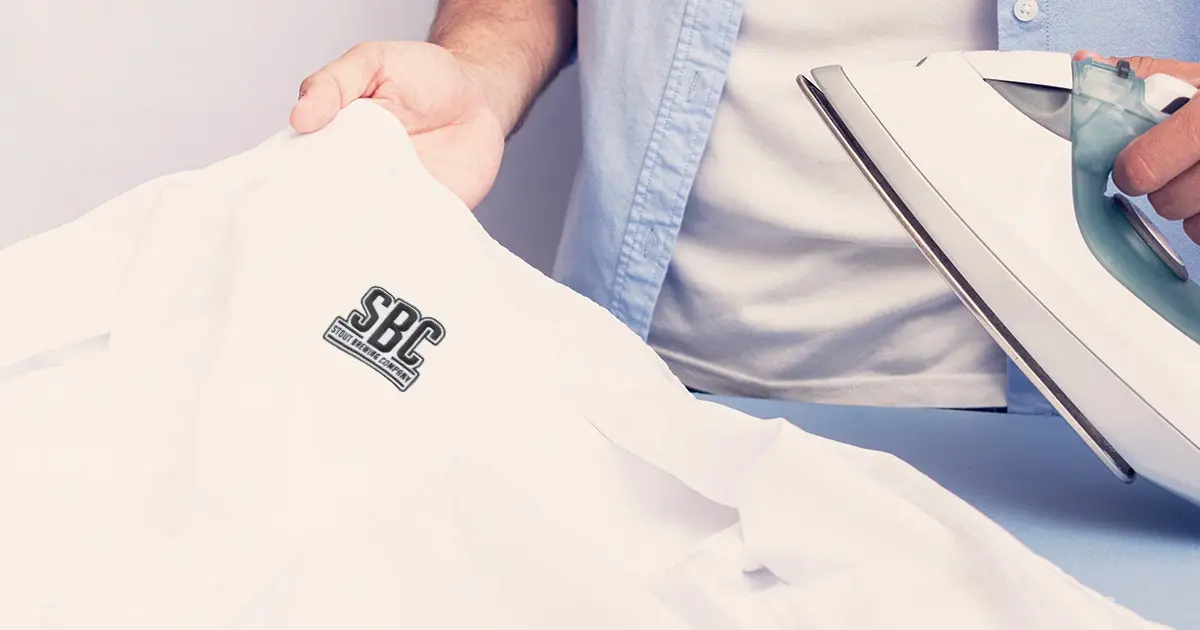
Iron Method
- Take out your ironing board or use your protective towel (be sure that it’s on a flat surface).
- Check your fabric to see the highest setting you can put your iron on without damaging your fabric.
- Turn on your iron.
- Place the wax paper or the thin piece of cloth over a small and hidden area on the fabric.
- Using the iron, press it against the paper or cloth for 15 seconds.
- Lift the paper or cloth to see if there was any damage done to the fabric.
- If the iron did damage to the small area, STOP and try the adhesive remover method.
- If no damage was done, proceed with this method.
- Now you can cover the patch with wax paper or a thin cloth.
- Press the patch that is covered with the wax paper or cloth with the hot iron for 15 seconds.
- Lift the wax paper or cloth to see if the adhesive softened. (If it did not loosen, repeat Step #10.)
- Once the adhesive has loosened up and softened, lift the edge of the patch with tweezers.
- Lift and pull the patch with tweezers until it comes off.
- Your patch is gone, but what’s left is that sticky residue. Now, it’s time to use your adhesive remover.
- Dab the adhesive remover on the residue, using a rag to work it into residue for about a minute.
- Take your toothbrush and scrub the residue out.
- Once the residue is gone, use liquid laundry detergent to pretreat the area.
- Put the fabric into the washing machine as usual.
- If the fabric comes out with residue, don’t put it into the dryer, but repeat until residue is gone.
Adhesive Remover Method
- Take out your adhesive remover.
- Test the remover on a small and hidden part of the fabric to make sure it doesn’t cause any damage.
- If it causes any damage, do not use it.
- If the fabric is completely fine, you can proceed.
- Turn the fabric or material inside out, exposing the fabric that is behind the patch.
- Over a sink, spray or pour the remover over the patch behind the fabric.
- Use the rag to rub the liquid into the fabric for about a minute.
- Check to see if the patch will peel away from the fabric either completely or partially.
- If the patch is lifted away from the fabric, use your scissors to trim it off.
- If the patch is not all the way lifted, use more remover and rub it in.
- Eventually, you should be able to completely lift the patch. All that’s left should be the residue, and you can follow the steps in the previous section above to remove any of this residue.
How to Remove an Embroidered Patch w/ Sew-On Backing
Tools You’ll Need
- Tweezers
- Seam Ripper
- Scissors (sewing scissors work best)
- Iron
Step-by-Step Instructions
- Expose the Stitches: Gently bend the fabric to reveal the stitching holding the patch in place.
- Position the Seam Ripper: Insert the long tip of the seam ripper behind the thread of a stitch.
- Cut the Stitch: Push the curved blade of the seam ripper against the thread to cut it. Take your time to avoid accidentally cutting into the fabric.
- Work Stitch by Stitch: Focus on one stitch at a time, centering the seam ripper on each thread. This prevents creating holes or tears in the material.
- Pull Loose Threads: Use tweezers to carefully remove threads as they loosen during the process.
- Remove the Patch: Once all stitches are cut, the patch will lift easily from the fabric.
- Tidy Up: Use scissors and tweezers to remove any remaining thread stuck to the garment.
- Refresh the Fabric: Wash the garment to minimize any visible holes left by the removed stitches.
With these simple steps, you can safely remove your sew-on patch while keeping your garment in excellent condition. Need advice on replacing or upgrading your patches? Our friendly team at THE/STUDIO is here to help!
Design Your Own Custom Embroidered Patch Now