How to put a Patch on a backpack
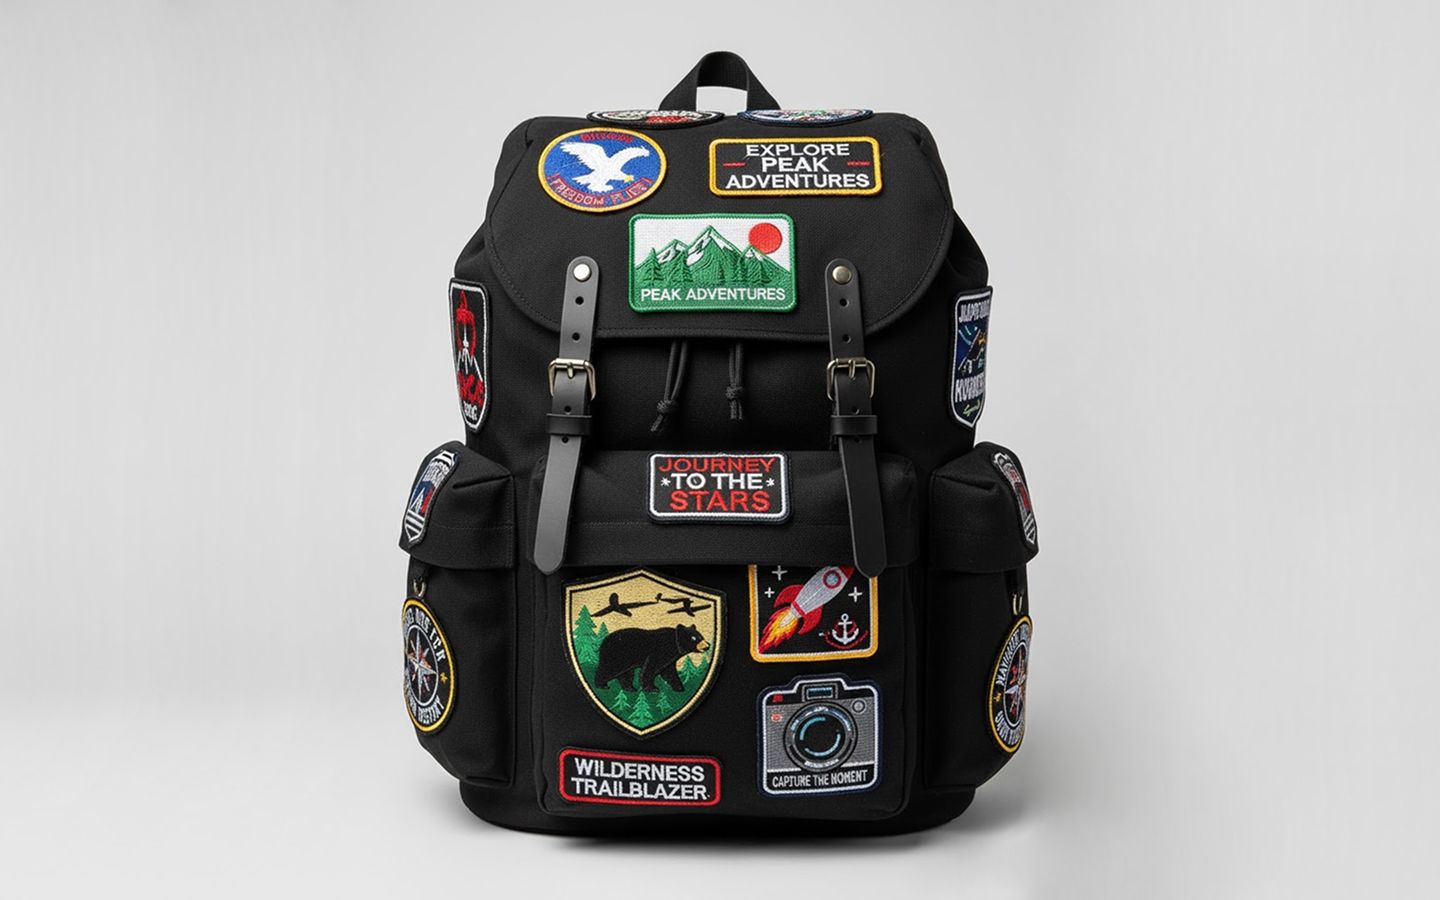
Patches are a great way to express your individuality and add a unique touch to your backpack. Customizing your backpack with patches is one of the best ways to showcase your personality, style, or interests.
Whether you’re commemorating an event, flaunting your fandom, or simply spicing up an old bag, adding patches transforms an everyday item into a one-of-a-kind accessory. From sew-on patches to iron-on or Velcro varieties, there are multiple ways to attach them.
In this article, we’ll dive deep into how to put a patch on a backpack. The method you choose depends on the materials you’re working with, your skill level, and the permanence you want for the design.
Why customize your backpack with Patches?
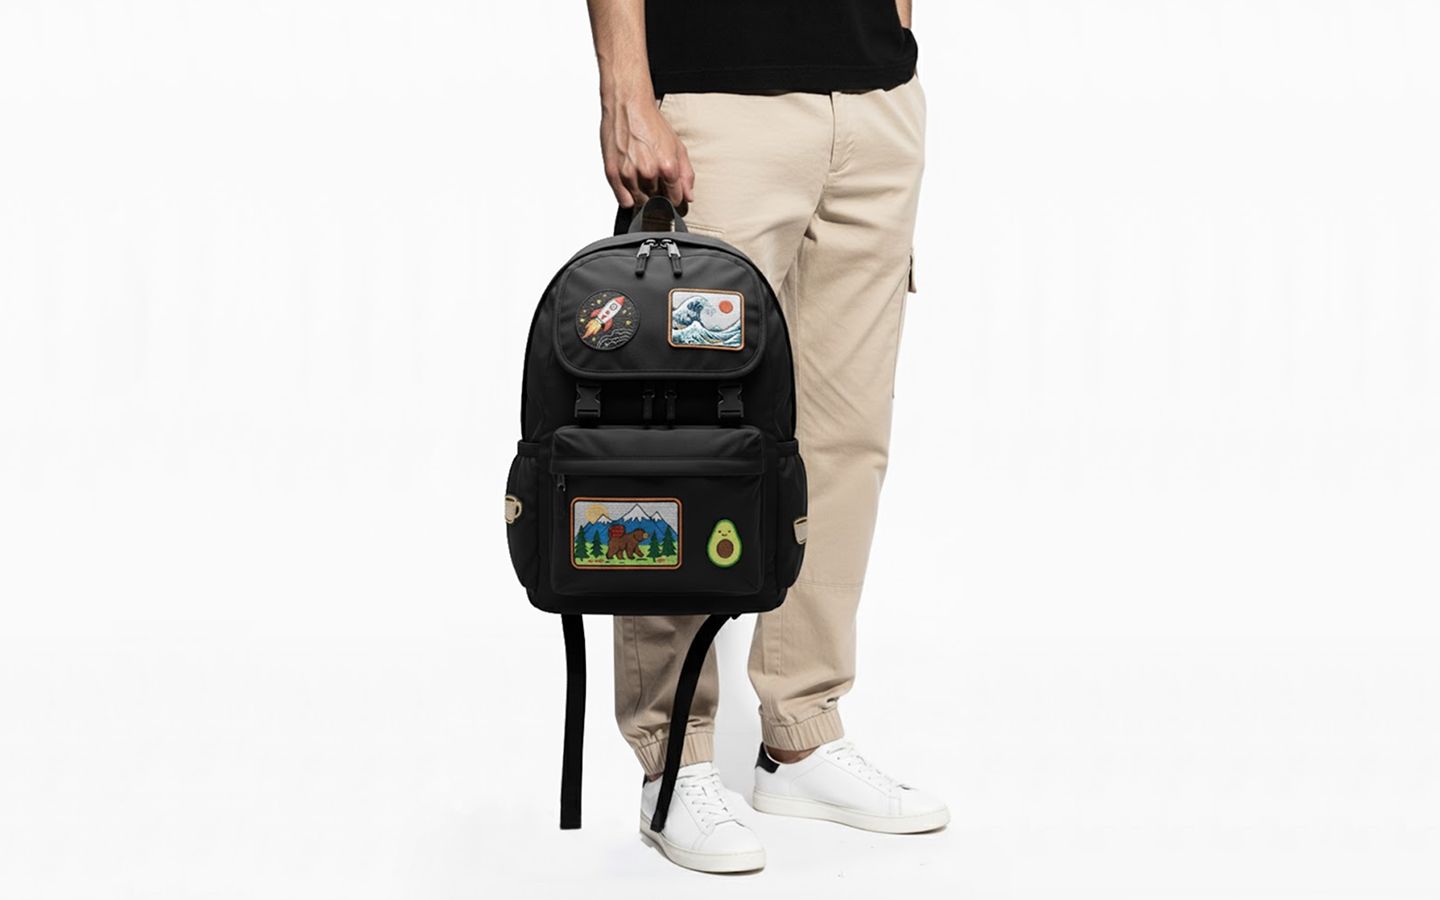
Adding patches is more than just a fashion statement—it’s a way to tell your story. Whether you’re showing off your hobbies, supporting a cause, or creating a memorable gift, patches make your backpack truly unique. With endless designs and attachment options, the possibilities are limitless.
With endless designs and attachment options, the possibilities are limitless. There are plenty of reasons to add patches to your backpack.
- Endless variety: From movie characters and music bands to sports teams and nature scenes, there's a patch for every interest.
- Show your affiliations: Represent your favorite clubs, organizations, or causes with stylish patches.
- Conceal minor damage: Patches can effectively cover small holes or tears in your backpack fabric.
What to consider before customizing your backpack?
Before you start ironing, sewing, or sticking patches onto your backpack, there are a few key details that need to be considered. The type of patch, the material of your backpack, and how permanent you want the design to be will all influence your choice.
Taking these factors into account beforehand ensures that your patches not only look great but also last as long as you want them to.
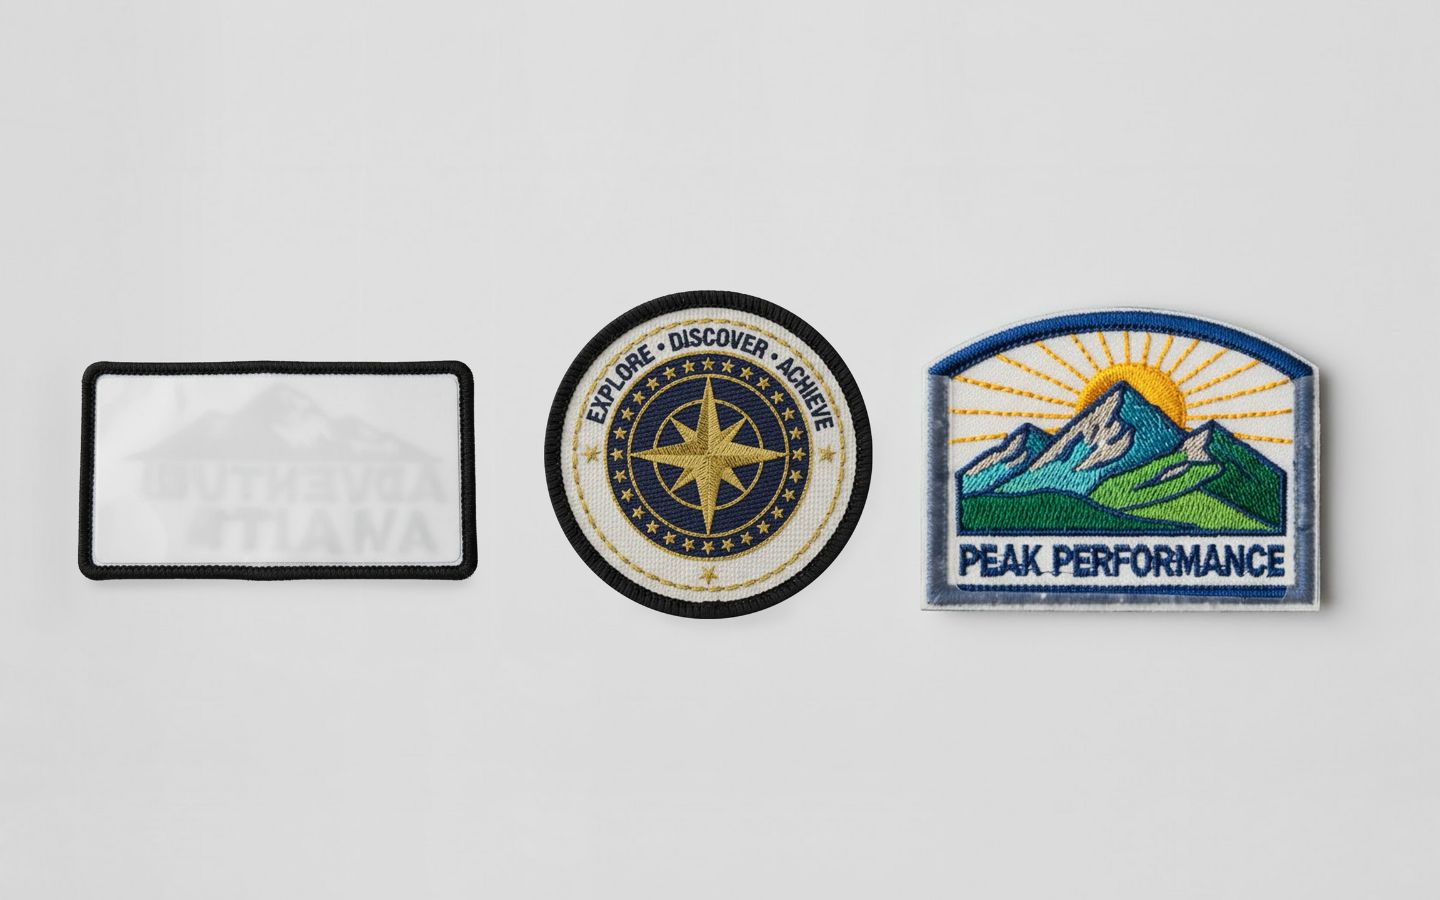
Patch types
Each patch backing offers different levels of durability and ease of use. Choose one that matches your skills and how often you plan to change your patches:
- Iron-on: Quick and easy to apply with heat, best for fabrics like cotton or denim. Not recommended for nylon or polyester, which can melt.
- Sew-on: The most durable option. Great for heavy-duty backpacks or for patches placed on high-use areas. Requires basic sewing skills.
- Hook-and-loop and Velcro: Perfect if you like switching patches often. Attach and remove without damaging your bag.
- Magnetic: Convenient for temporary use, but only practical if your backpack has magnetic-friendly surfaces or inserts.
- Press-on/adhesive: Simple peel-and-stick application. Best for lightweight fabrics or short-term customization, though less durable over time.
Material compatibility
Not every patch works on every type of backpack fabric. Always consider what your bag is made of before deciding:
- Canvas, denim, cotton: Ideal for iron-on and sew-on patches.
- Nylon, polyester, other synthetics: May melt or warp with heat, so stick to sew-on, Velcro, or adhesive options.
- Leather: Works best with sew-on or adhesive patches; heat methods may damage the surface.
Durability vs. flexibility
Think about how long you want your customization to last:
- For permanent customization, go with sew-on patches.
- For semi-permanent customization, iron-on patches provide a good balance of durability and convenience.
- For flexible customization, hook-and-loop or adhesive patches let you swap designs easily.
💡 Read more: The easy guide to attaching Patches.
Types of Patches
The best way to add a personal touch to your backpack is with custom patches. However, there’s a vast array of designs to choose from to reflect your unique personality and interests.
A. Iron-On Patches
Tools and materials
A simple and fun way to personalize your backpacks with patches without sewing is by adding Iron-on patches. Here's what you'll need to get started:
- An ironing board or heat-resistant surface: Avoid using plastic or wooden surfaces.
- A pressing cloth: This protects your backpack from direct iron contact.
- An iron: Use the iron's dry setting (no steam) to prevent damage to the patch.
- A timer: Helps ensure even heat application.
- Your patches: Always read the specific instructions on each patch for recommended iron temperature.
Application steps
Once you have all the materials, attaching patches is quick and easy. Just follow these steps:
Check that your backpack is made of non-synthetic material. Synthetic materials such as nylon will melt when using an iron. Opt for materials like canvas, denim, or cotton.
Work on a clean, heat-resistant surface. Make sure nothing is under or around the bag while you’re working.
Turn the iron on to the correct temperature setting and allow it to heat. Ensure it’s set on a stable, heat-safe surface and away from flammable material.
Lay the bag flat on the work surface and ensure no wrinkles, as patches stick best to flat surfaces. If the fabric is wrinkled, iron the section where you want to put the patch.
Put the patch on the bag and lay the pressing cloth on top. Iron the area for 30 seconds, moving the iron in gentle circular motions. Ensure you cover the entire patch area, especially around the edges. Otherwise, it may not adhere well.
Remove the pressing cloth and carefully check the patch. It should be completely attached. Use caution, as the area will still be hot! If there are gaps or wrinkles around the edges, repeat step 5.
Iron the other side of the patch by working in the backpack or turning it inside out. Move the iron in small circles for 15 seconds to help complete the seal. Now you’re done!
💡 To learn more about how to prevent iron-on patches from falling off, read our complete guide.
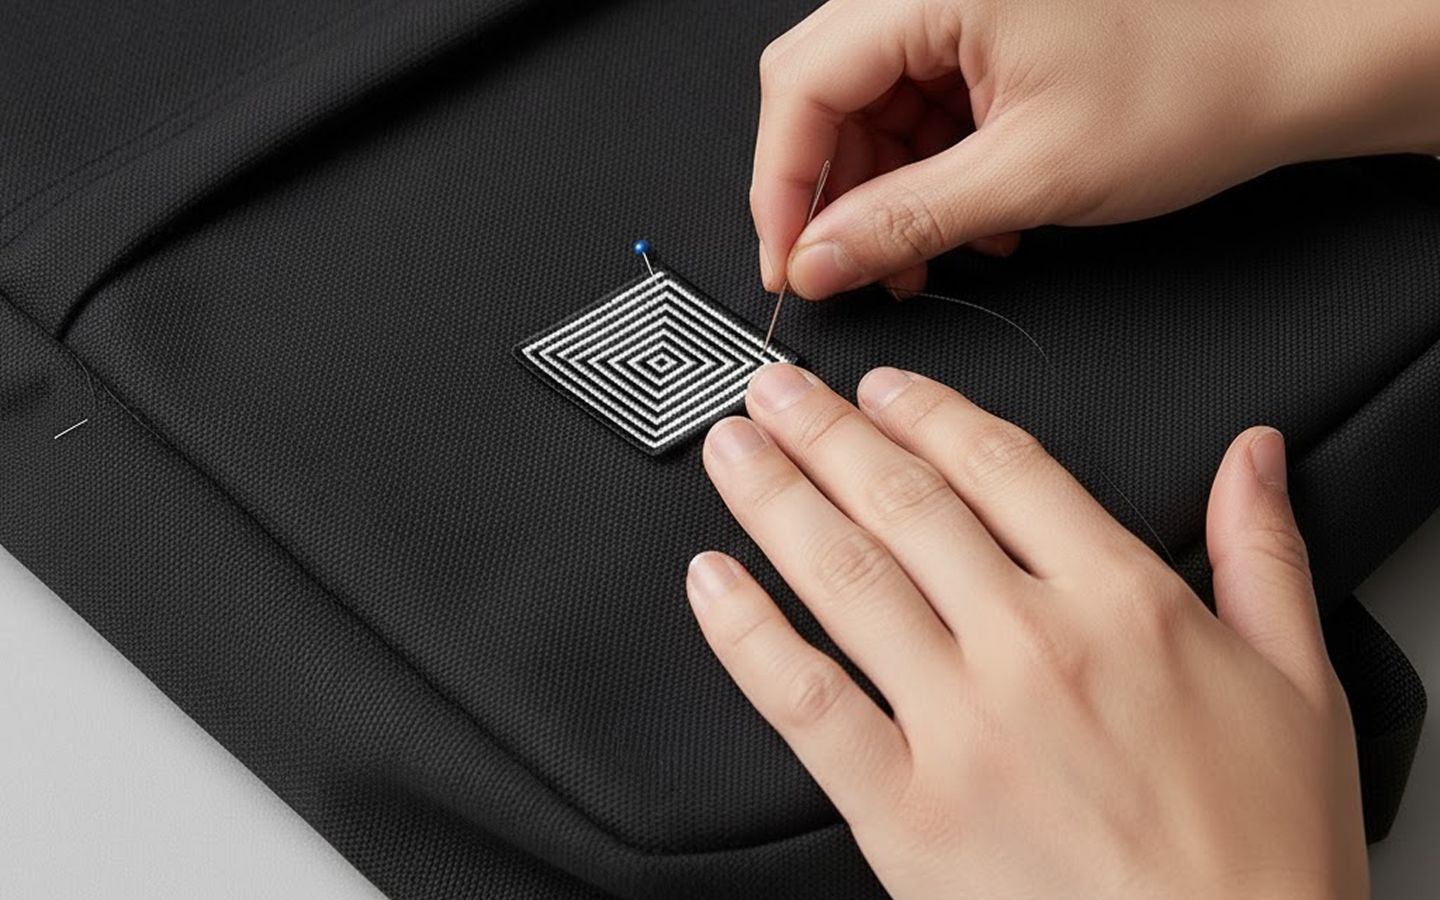
B. Sew On Patches
Tools and materials
Sew-on patches are great and offer superior durability compared to glue-on options, which can weaken over time, especially after repeated washing.
- Sewing Needles: Choose the right size needle for your fabric. Larger needles are suitable for thicker fabrics, while smaller needles are better for delicate materials.
- Thread: Select a thread color that complements your patch and fabric (e.g., match the thread to the patch's edges or the background fabric).
- Sewing Pins: Securely hold the patch in place while sewing.
- Optional: A thimble to protect your fingers from needle pricks, especially when working with thick fabrics.
Most patches, even those with adhesive backings, can be easily sewn on.
Application steps
Sewing may seem intimidating, but it’s pretty simple and easy to pick up. Here’s what you need to do:
Decide where the patch will go. The great thing about sew-on patches is that they can be used to repair rips and holes in the material. Remove any leftover strings or fibers around the hole if you use the patch to seal a tear.
Lay the patch in the area you want it to go. If you’re coving a rip, ensure the patch covers it completely.
Temporarily attach the patch using either pins or adhesive. You can sew iron-on and Velcro patches to make them more secure. If there’s no adhesive backing, use the sewing pins to secure the patch while you work.
Thread your needle. Most bags are made of thick fabrics, so it’s best to double up on the thread. Tie the end knot, and you’re ready to go!
Sew the back stitch. Backstitch is one of the most secure and most accessible stitch techniques. Begin by pushing the needle through the underside of the fabric and patch so that the knot is inside the bag. Push the needle down through the material, and bring it back up about a quarter inch away from the initial hole. Push it back through the initial hole, and repeat.
Once you’ve completed the border, push the needle back down through the fabric on the side where the first knot is. Tie a final knot and trim any excess string.
C. Bonding Patches
Tools and materials
Bonding patchings are the most accessible type of patch to apply. Here’s what you need to get started:
- A hard surface to put the bonding patch on. These patches last the longest on hard, solid surfaces such as helmets, laptops, and water bottles.
- A cleaning cloth, soap, and water to clean the area.
- Optional: Flat, heavy objects, such as several large books or boxes. You can use these to press the patch on.
- Your patches!
Application steps
Bonding patches are super easy to apply as they're more like stickers than traditional sewn-on patches! Here's how to do it:
Prep the Surface. Clean the area where you want to place the patch thoroughly. Make sure it's free of dust, dirt, and any moisture.
Let it Dry. Allow the surface to dry completely before applying the patch.
Peel and Apply. Peel off the protective backing and carefully place the patch on the desired location.
Press Firmly. Press down firmly on the entire patch to ensure good adhesion.
Optional: Add Weight (for flat surfaces). For extra security, place heavy objects (like books) on top of the patch for a few hours to increase bond strength.
Avoid Moisture and Movement. Once applied, avoid getting the patch wet or moving it around, as this can weaken the adhesive over time.
💡 For more information about the different kinds of patches, check our complete guide and learn their unique features and best uses.
Frequently Asked Questions
How do you iron on a Patch on a backpack?
Iron-on patches for backpacks are easy to attach. Simply put them where you want and heat both sides of the patch with an iron.
Be sure to avoid burning or melting the material with steam or excessive heat. Stick to materials like cotton and denim; avoid synthetics like nylon.
How long to iron a Patch on a backpack?
The time you need to iron a patch can vary. Factors like adhesive material, the size of the patch, and the backpack material all influence heating time.
It’s best to check the patch packaging before you begin, as it usually has heat and time recommendations. If not, start with 30 seconds.
Can you hot glue a Patch on a backpack?
It depends. Hot glue is likely to damage a nylon backpack, but it can be used on non-synthetic materials to help hold a patch in place.
Hot glue may not bond well if the patch has its own adhesive. It’s best for non-adhesive patches or reattaching a patch that’s starting to separate.
Final thoughts
Customizing your backpack with patches is one of the easiest and most creative ways to make it truly your own.
Whether you want to showcase your style, cover up wear and tear, or tell a story through meaningful designs, patches let you turn an ordinary bag into something personal and unique.
There’s a patch type for every need, from durable sew-ons to quick iron-ons, flexible Velcro patches for backpacks, or simple stick-ons. By choosing the right method for your backpack’s material and your lifestyle, you’ll get a customization that not only looks great but also lasts.
With THE/STUDIO, you can make your own patches that perfectly reflect your personality, brand, or event. From selecting the shape and size to picking the right backing, our team makes it simple to create patches that fit your vision. Add them to your backpack, and you’ll have a one-of-a-kind accessory that stands out wherever you go.