How to remove iron-on letters from clothes: a step-by-step guide
Iron-on letters are a fun and easy way to personalize clothes, but what if you want to take them off? Maybe you made a small mistake, want to reuse an old shirt, or just want a new design.
Removing iron-on letters isn’t hard when you know the right steps. With a little heat and a few simple tools, you can safely take them off without damaging your fabric.
Key takeaways:
- Using an iron or hairdryer softens the adhesive so the letters peel off more easily.
- Work slowly and carefully to avoid tearing or burning your fabric.
- Unlike iron-on letters, custom patches are easy to apply, remove, and reuse.
Why remove iron-on letters?
How long iron-on patches last depends on the material and application method, which means that iron-on letters can outlive their purpose. Whether you want to refresh an old shirt, fix a DIY mistake, or give your clothing a new look, removing them can make room for something fresh.
Here are a few reasons why you might consider removing them:
Repurpose clothing: Updating your wardrobe doesn’t always mean buying new clothes. By removing old designs, you can repurpose garments for a fresh start.
Fix DIY mistakes: Iron-on letters are a popular choice for DIY projects, but errors can sometimes occur. Removal allows you to correct those mistakes without discarding the garment.
Personalize for someone else: If you’re passing down or gifting clothing, removing the letters can make it more versatile for the next user.
Upcycling projects: Removing iron-on letters makes the clothing ready for creative upcycling, turning them into trendy, one-of-a-kind pieces.
Whatever your reason, following the proper steps will ensure your clothing stays intact and ready for its next chapter.
Tools you’ll need

Having the right tools on hand is essential for successfully removing iron-on letters. Here’s what you’ll need:
Iron or hairdryer
Parchment paper or a thin cloth
Adhesive remover (like Goo Gone) or rubbing alcohol
Tweezers or a butter knife
Cotton swabs or clean rags
Mild detergent
Washing machine
These items are easy to find and will make the process simpler and more effective.
Step-by-step to remove iron-on letters from clothes
In this section, we’ll walk you through a simple step-by-step process that makes removing iron-on letters safe and hassle-free. From loosening the adhesive to cleaning up residue, each step is designed to help you restore your garment and get it ready for a fresh new look.
These techniques can be useful if you ever need to adjust or replace any kind of iron-on patches.
Step 1: Heat the letters
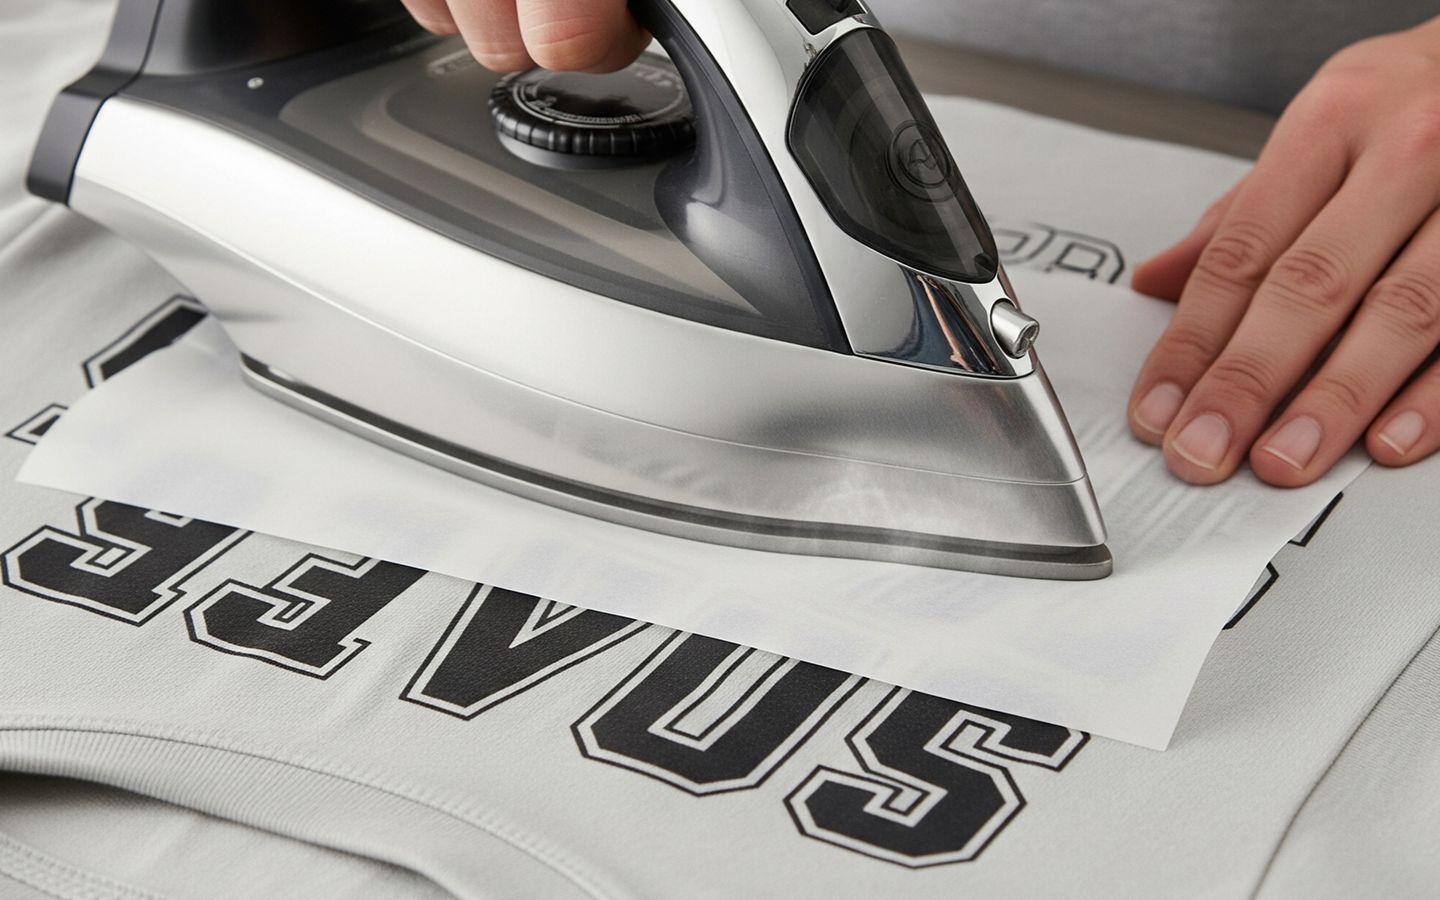
Heat is your best friend when it comes to loosening the adhesive on iron-on letters. Here's how to do it:
Preheat your iron: Set your iron to medium heat and turn off the steam setting. Steam can introduce moisture, making adhesive removal more difficult.
Protect the fabric: Place a piece of parchment paper or a thin cloth over the letters to act as a barrier. This prevents direct heat from scorching the fabric.
Apply heat: Firmly press the iron onto the covered letters for 10 to 15 seconds. If you’re using a hairdryer, set it to high heat and hold it a few inches away from the garment.
Check for loosening: Gently lift the edge of one letter using tweezers or a butter knife to see if the adhesive is softening. If it hasn’t loosened, reapply heat as needed.
Proper heating ensures the adhesive softens, making it easier to peel off the letters in the next step.
Step 2: Peel off the letters
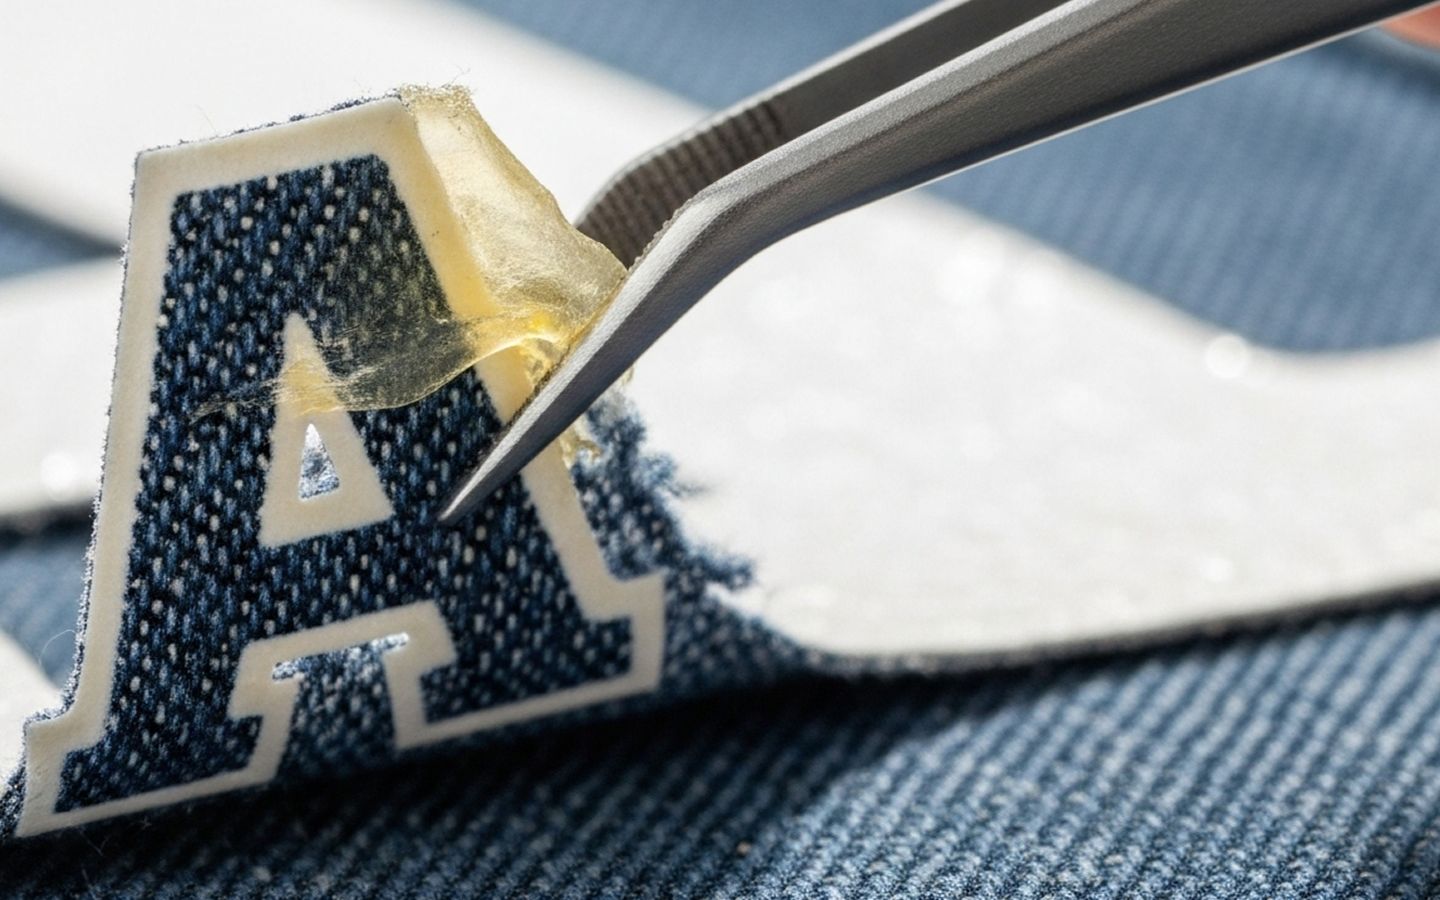
After heating the letters, you can begin the peeling process. This step requires patience to avoid damaging the fabric.
Start from the edges: Use tweezers or a butter knife to lift the edges of the letters. Start with small sections and work your way across the design.
Reapply heat as needed: If certain parts of the letter feel stuck, reapply heat to further soften the adhesive.
Take your time: Removing the letters in one piece may not always be possible. Work slowly to avoid tearing the fabric or leaving adhesive chunks behind.
Step 3: Remove adhesive residue
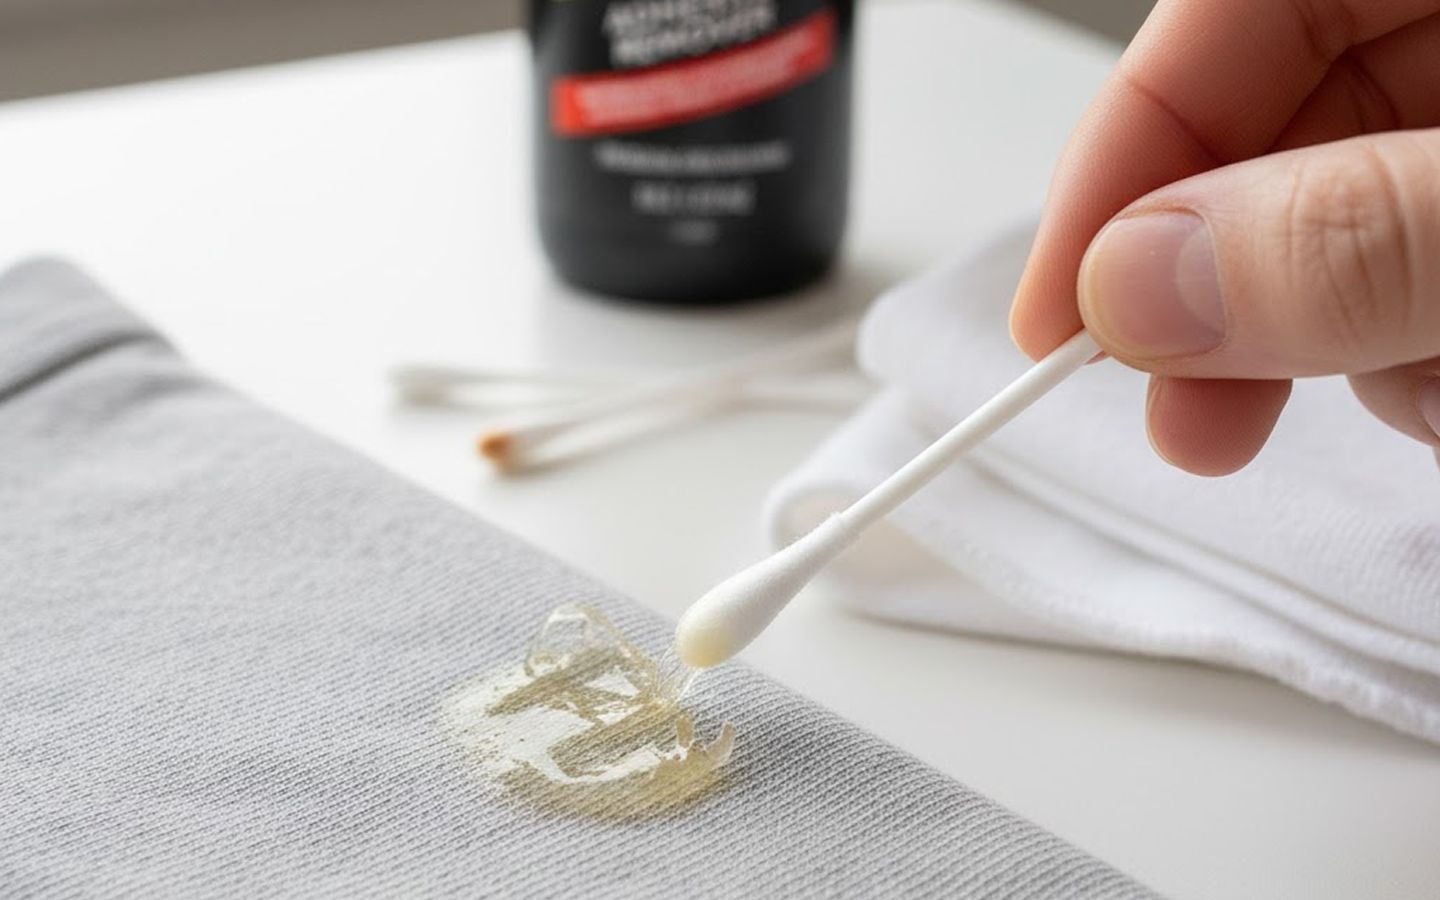
Once the letters are removed, there’s often some adhesive residue left behind. Cleaning it up properly ensures the garment looks as good as new.
Apply adhesive remover or rubbing alcohol: Dab a small amount of adhesive remover or rubbing alcohol onto a cotton swab or clean cloth. Test it on a hidden part of the fabric first to avoid discoloration or damage.
Work on the residue: Gently rub the adhesive remover over the sticky areas, allowing it to break down the residue.
Wipe clean: Use a fresh cloth to wipe away the loosened adhesive. Repeat as necessary until the surface is completely clean.
Adhesive removers like Goo Gone are highly effective for this step, but always ensure they’re safe for the type of fabric you’re working with.
Step 4: Wash the garment
To remove any leftover adhesive remover or residue, wash the garment thoroughly.
Use a gentle detergent: Hand wash or machine wash the item on a gentle cycle using cold water and mild detergent.
Inspect the fabric: Once washed, check the fabric to ensure all residue has been removed. If adhesive spots remain, repeat the cleaning process before drying.
Air dry: Avoid using a dryer until you’re sure the adhesive is gone. Heat from the dryer could set any remaining residue, making it harder to remove.
This final step restores the fabric’s original texture and ensures it’s ready for wear or further customization.
Tips for success
Removing iron-on letters can be tricky, but these tips will help you avoid common pitfalls:
Check fabric labels: Delicate fabrics like silk or polyester require extra care. Use lower heat settings and test adhesive removers on hidden areas.
Use a barrier for heat application: Always protect the fabric with parchment paper or a cloth to prevent direct heat damage.
Work in a well-ventilated area: Adhesive removers can produce strong fumes, so ensure your workspace has adequate ventilation.
Be patient: Rushing the process can lead to fabric damage. Take your time, especially when peeling off the letters.
💡 If you want to reapply your iron-on letters to another DIY project, check out our full guide on how to iron patches on clothes to master every step of the process.
Alternative methods for removing iron-on letters
If the standard method doesn’t work or isn’t suitable for your garment, here are some alternative techniques to try:
Freezing method: Place the garment in the freezer for a few hours. The adhesive may harden and become easier to scrape off.
Vinegar solution: Soak the clothing in a mixture of white vinegar and warm water. Vinegar helps to break down the adhesive naturally.
Professional cleaning: For delicate or valuable items, a professional cleaner can safely remove iron-on letters without risking damage.
These options give you flexibility and ensure you can remove the letters even when dealing with stubborn adhesives.
Why choose custom patches instead?
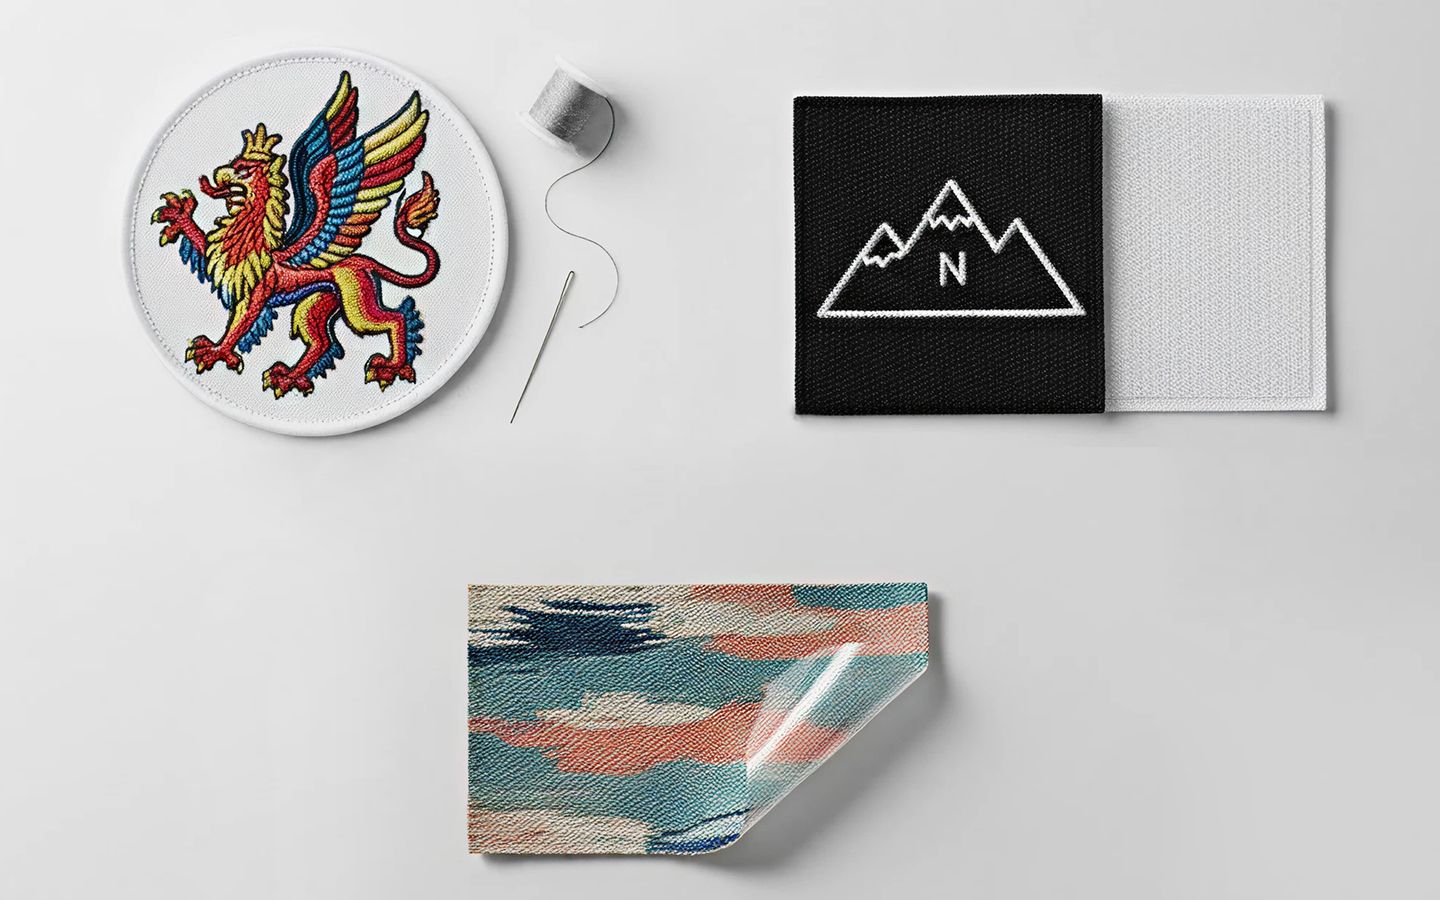
Iron-on letters are a simple way to personalize items, but they can be limiting. If you’re exploring different customization options, patches are a versatile choice that can be tailored to your project’s specific needs.
Variety of backings: Choose from Velcro patches, adhesive patches, or classic sew-on options to suit your project.
High-quality materials: Each patch is carefully crafted to last, ensuring your designs remain vibrant and look great for years.
Easy application and removal: Unlike iron-on letters, patches with Velcro or adhesive backings can be applied temporarily or easily switched out, while sew-on patches provide a more permanent solution.
Instead of limiting your project to iron-on letters, consider exploring how custom patches can offer more flexibility and durability. With various backing options and durable materials, they’re a smart way to personalize almost anything.
If you’re ready to try them out, you can easily make your own patch online.
Final thoughts
Removing iron-on letters doesn’t have to be tricky. With the right tools, careful technique, and a little patience, you can refresh your clothing or get it ready for a whole new design.
If you’re looking for a more flexible and long-lasting way to customize clothing or accessories, custom patches are an excellent alternative. At THE/STUDIO, you can find a wide range of patch types, including sew-on, adhesive, and Velcro options, crafted from high-quality materials.
Those patches can be applied, removed, or swapped easily, giving you the freedom to personalize your garments again and again. Take your wardrobe to the next level and start creating customized items.