Free Shipping
Products
Partner With Us
HomeCustom PinsTrading Pins

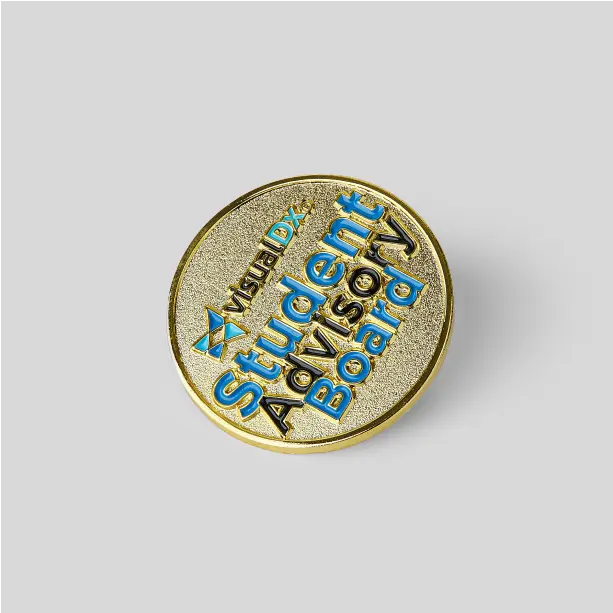
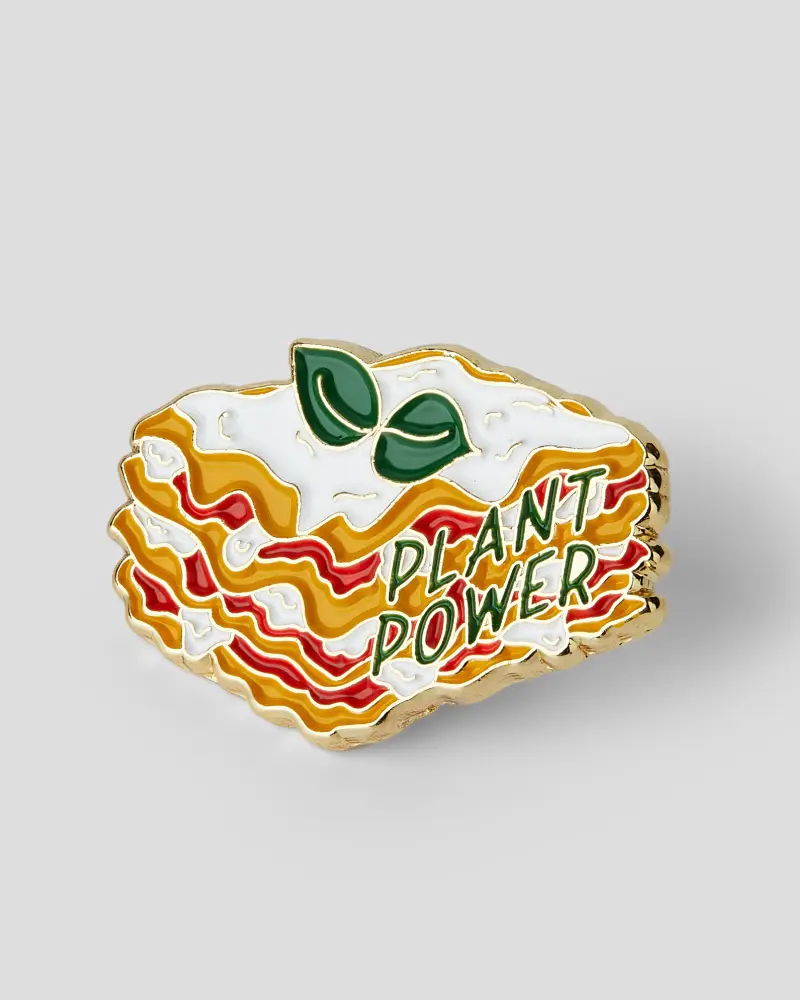
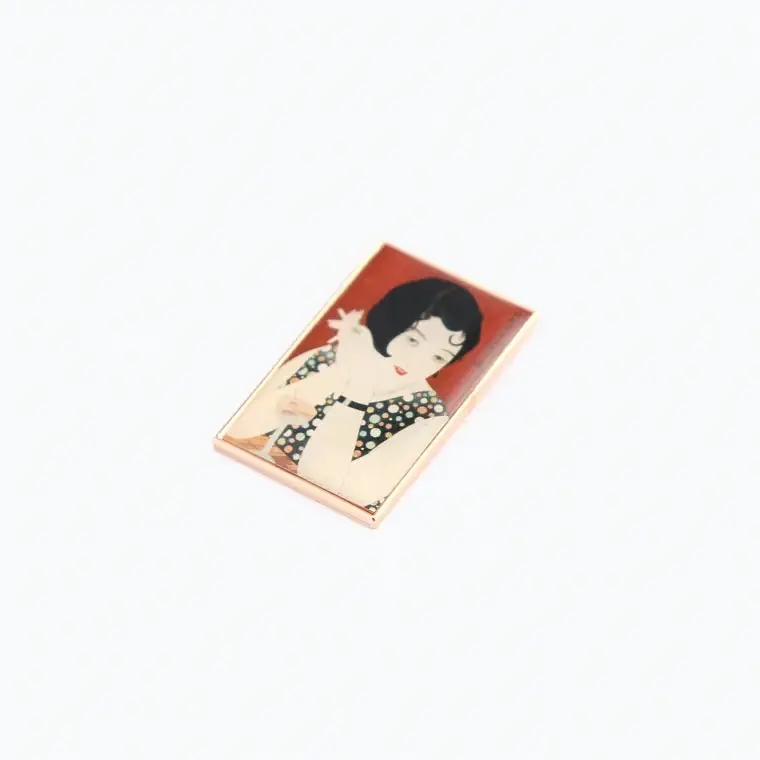
Click to zoom
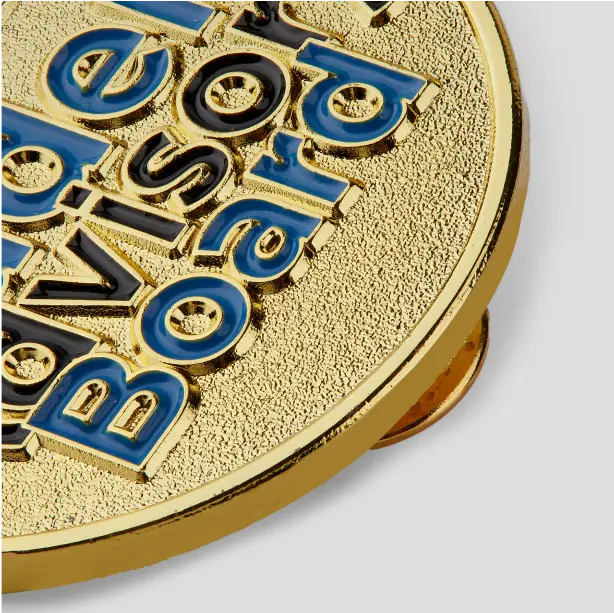
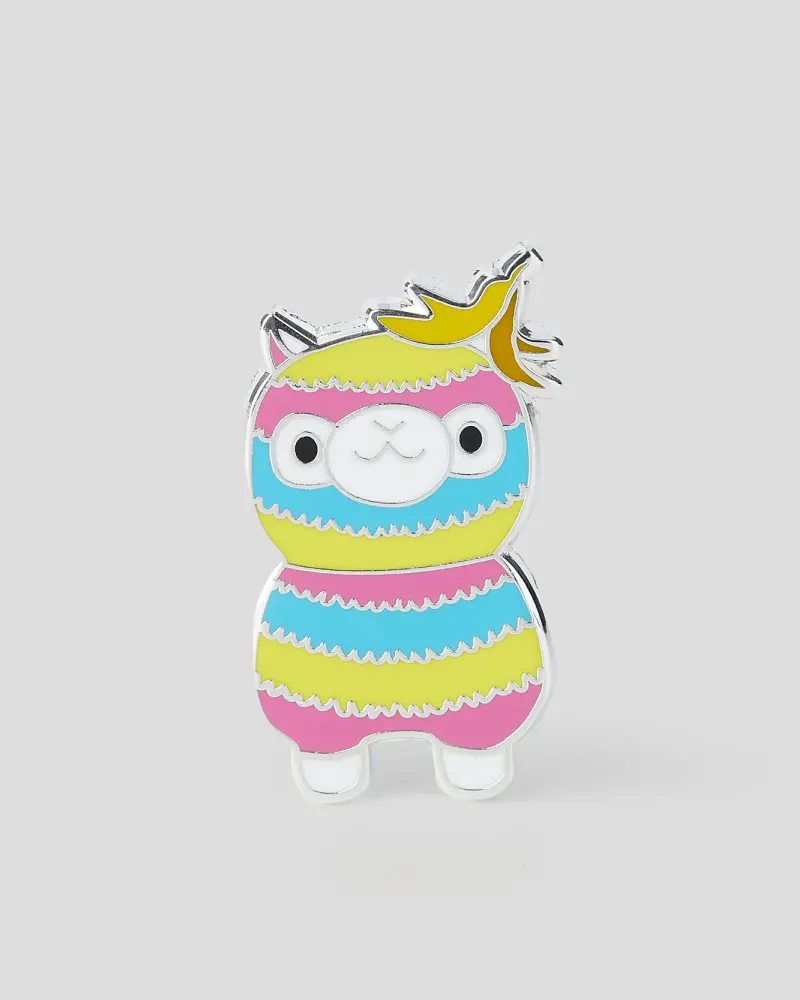
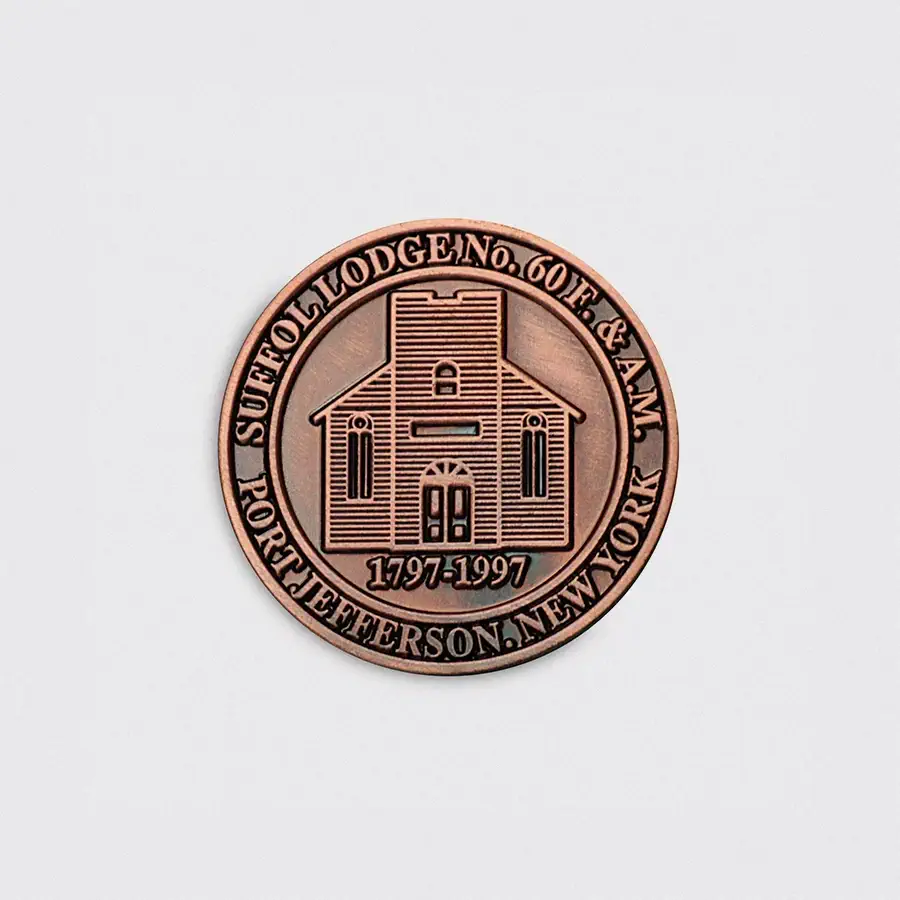
Click to zoom
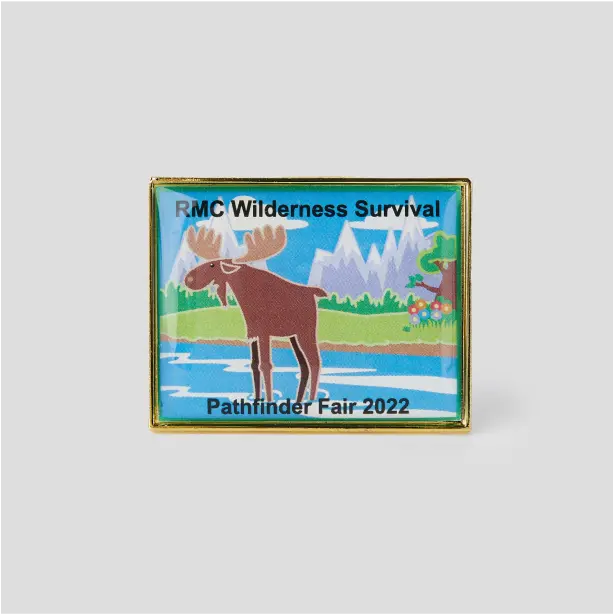
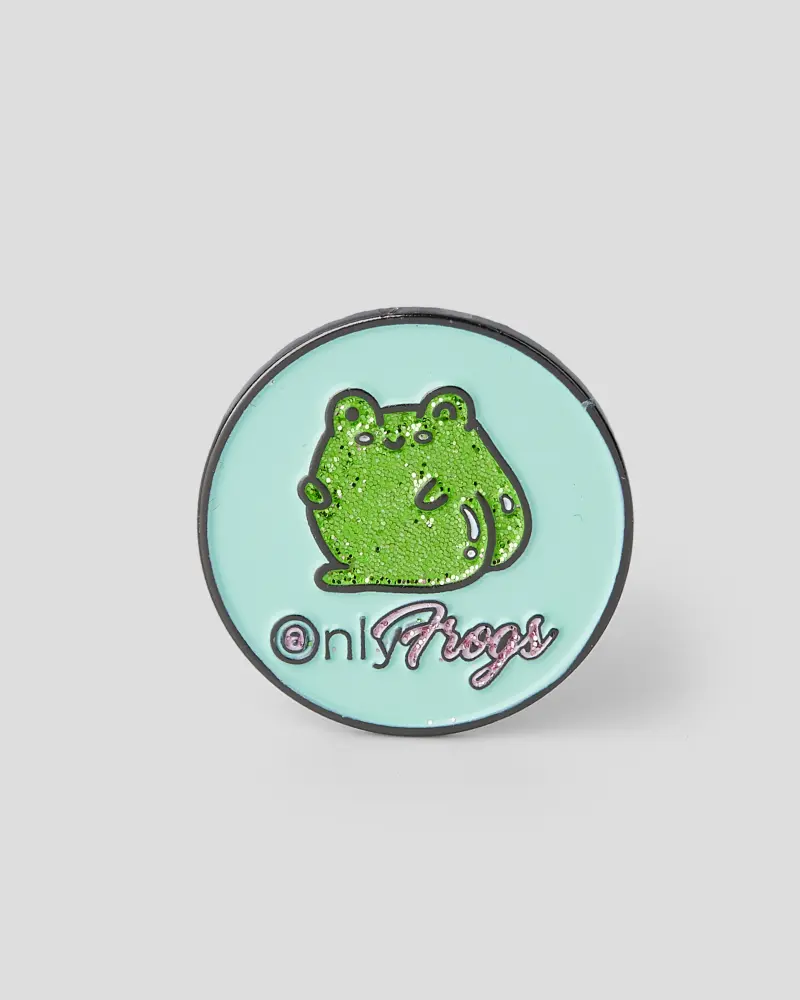
Click to zoom
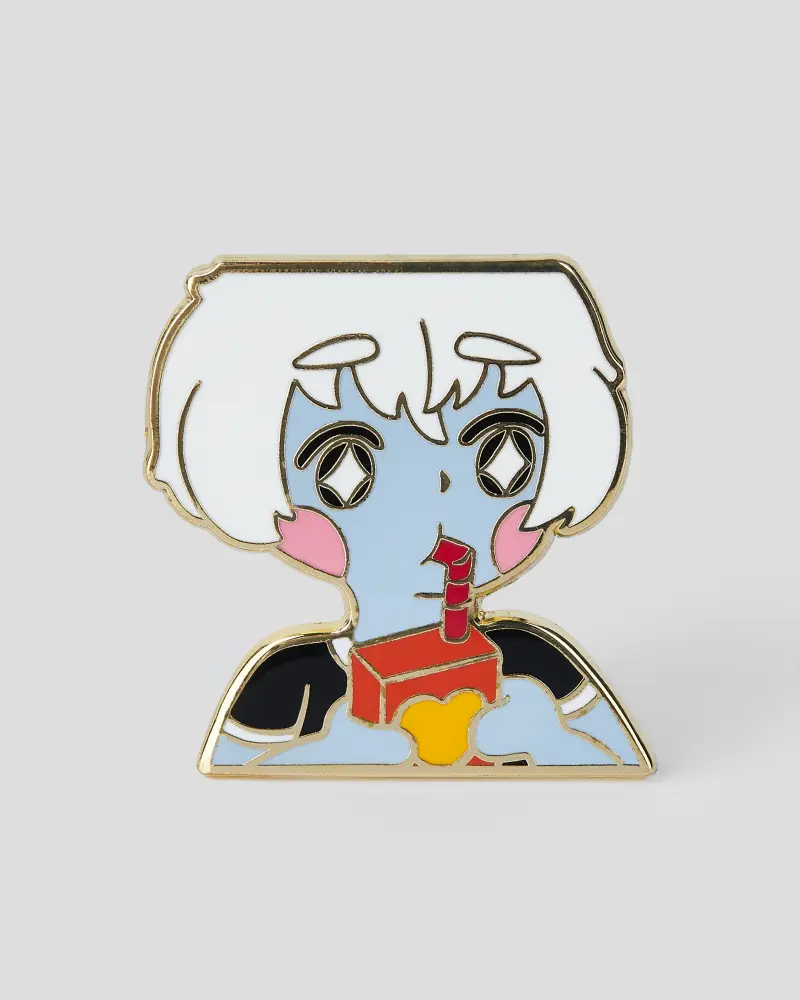
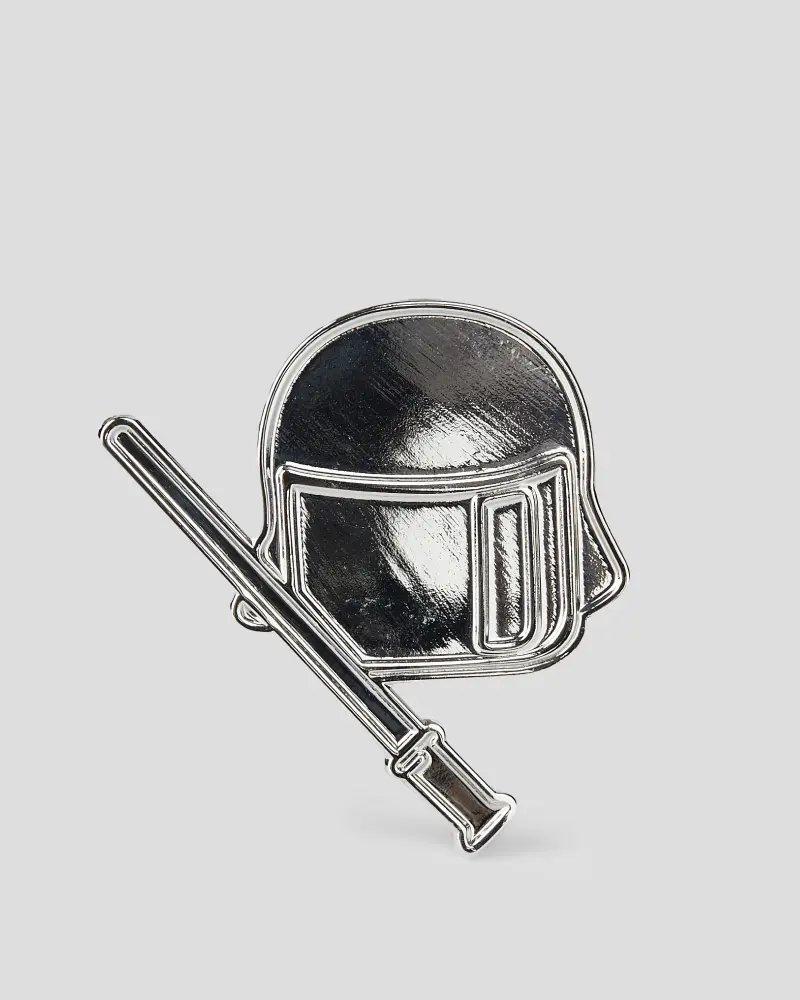
Click to zoom

Click to zoom
Custom Trading Pins
Request Samples
Make your own Custom Trading Pins
Choose Size
x
Choose Quantity
pieces
Total price
Loading
Steps to your Custom Product
CUSTOMIZE FROM SCRATCH
ORDER
APPROVE YOUR DESIGN
MAKE AND SHIP
Types of Trading Pins
Frequently asked questions
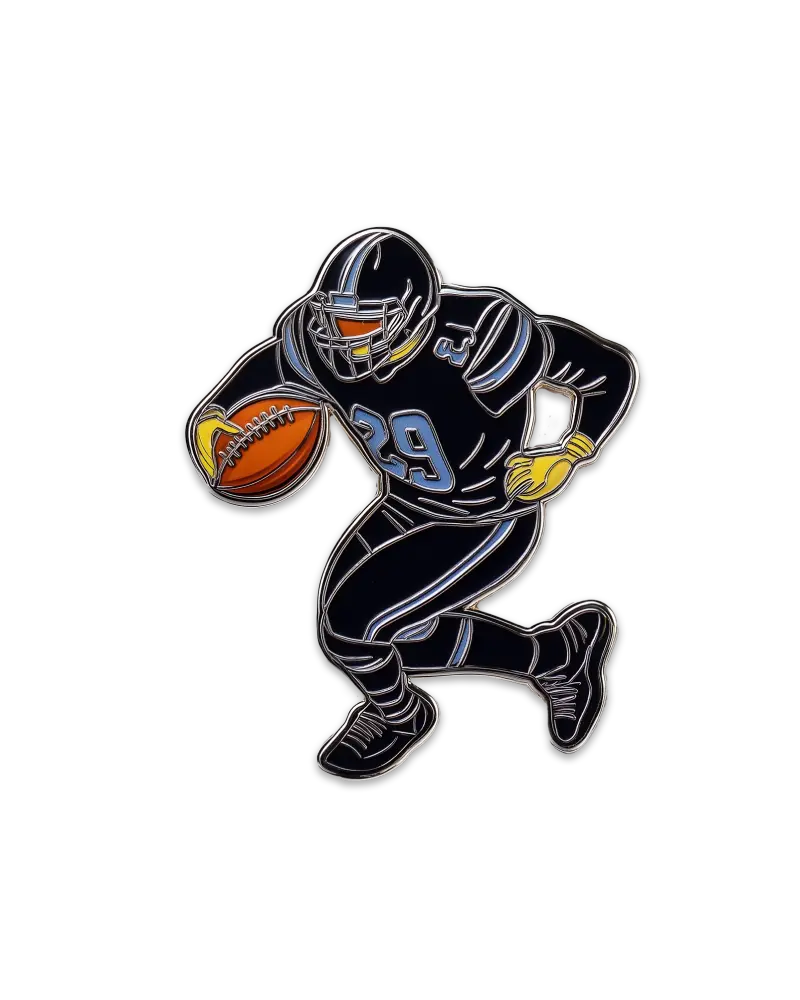
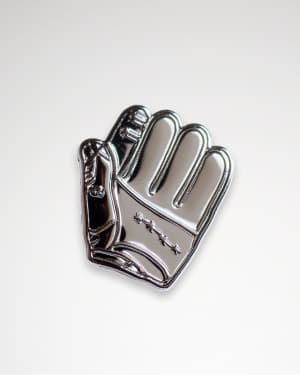
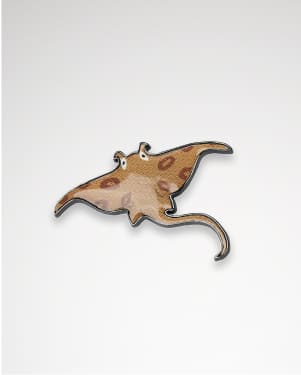
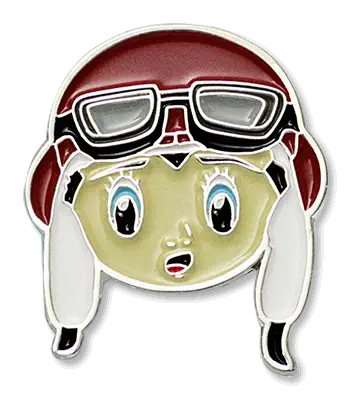
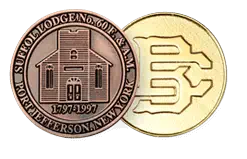
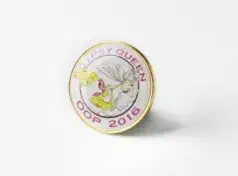
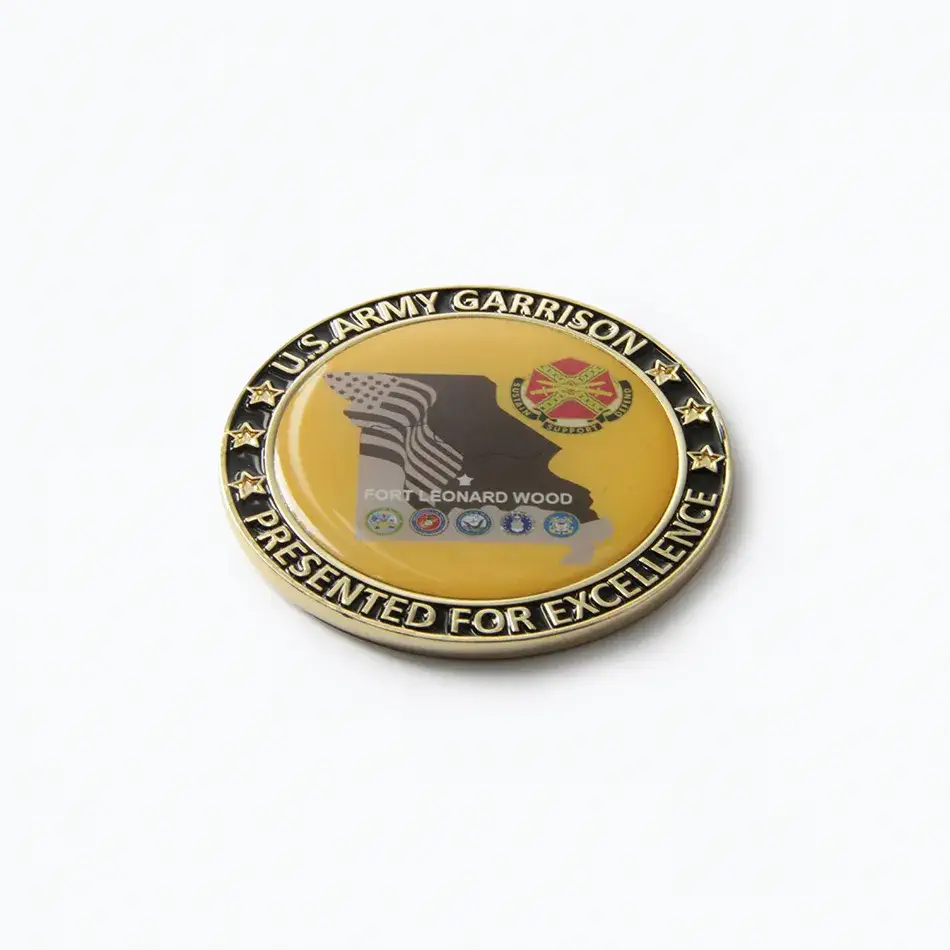
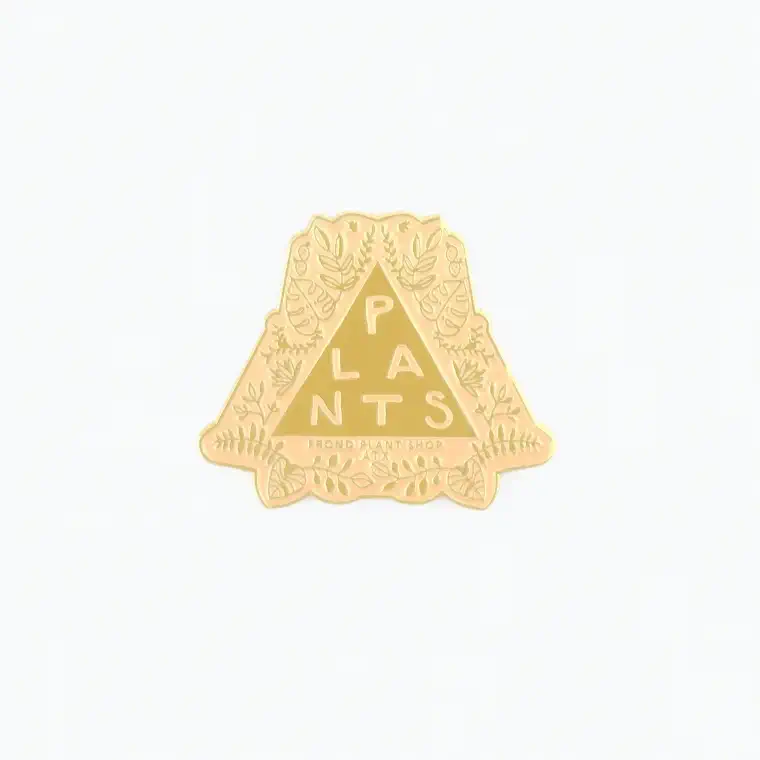
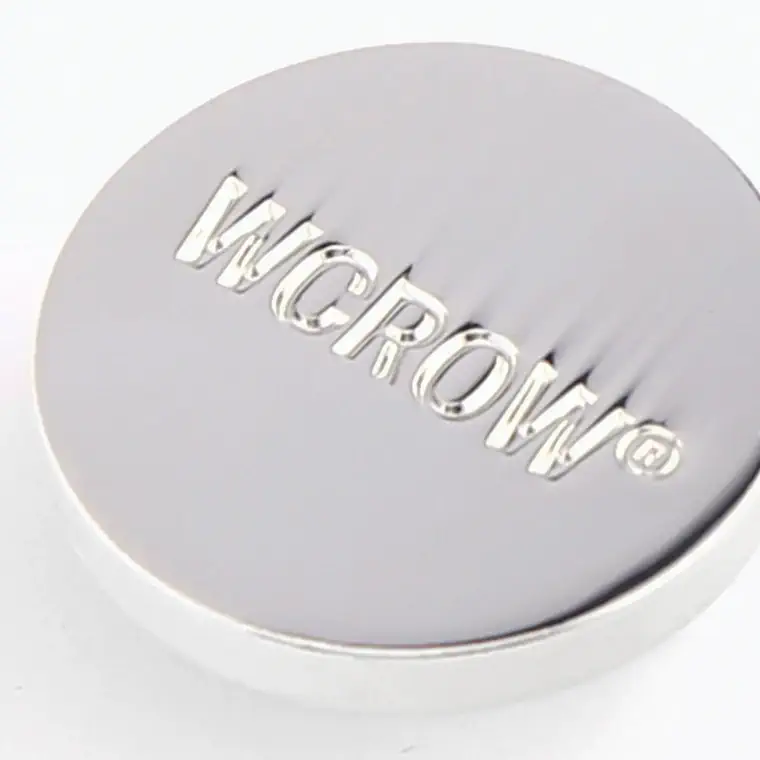
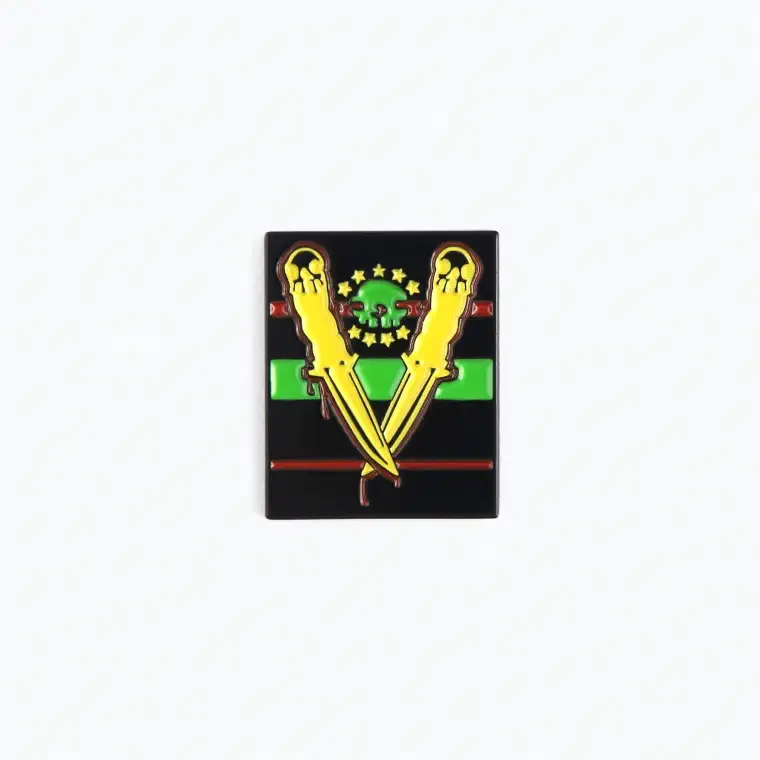
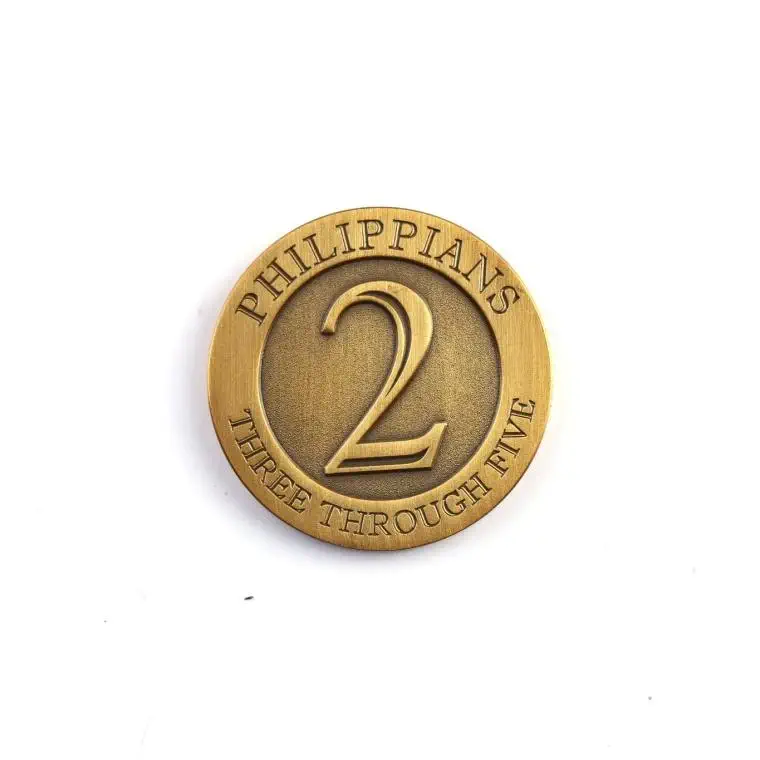
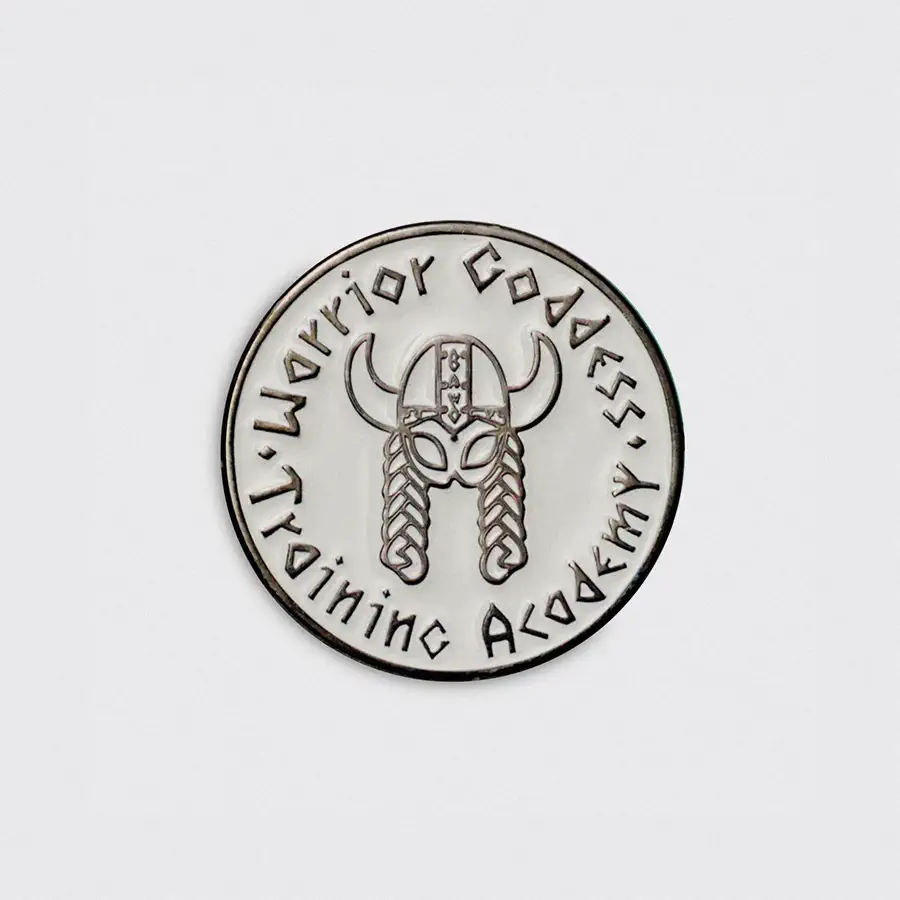
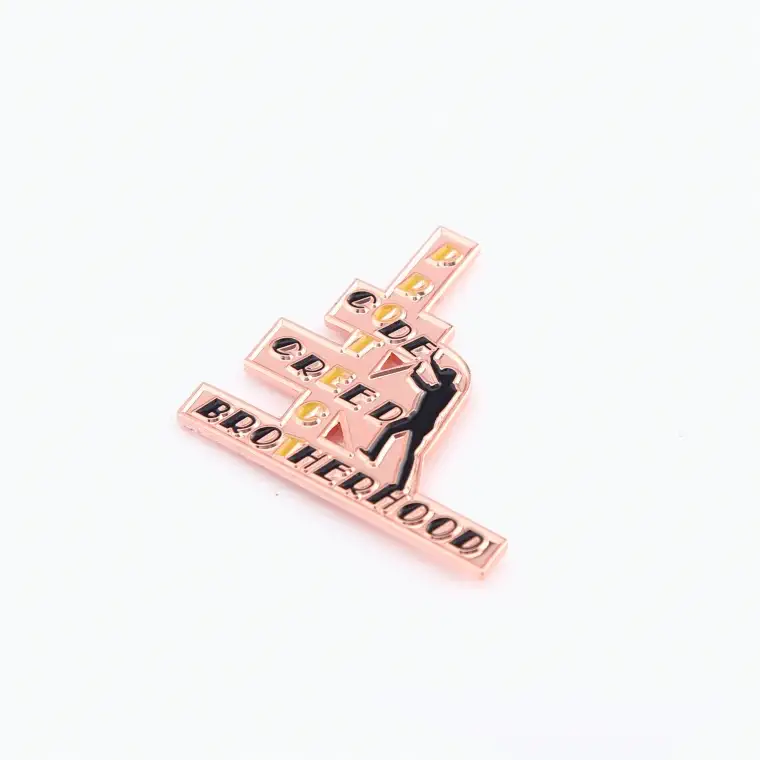
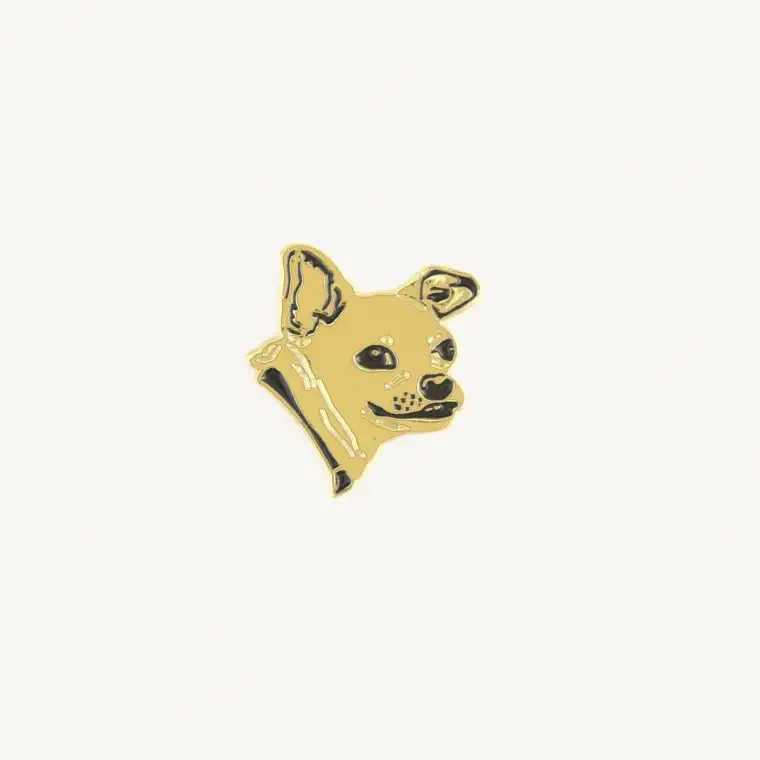
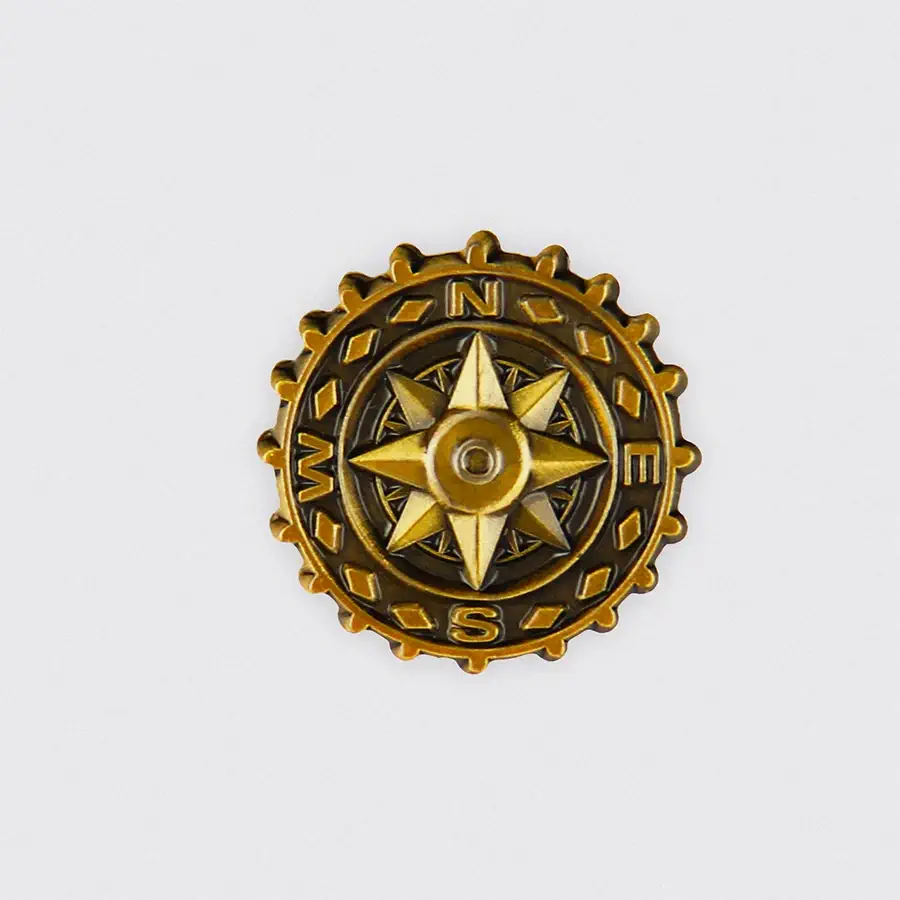
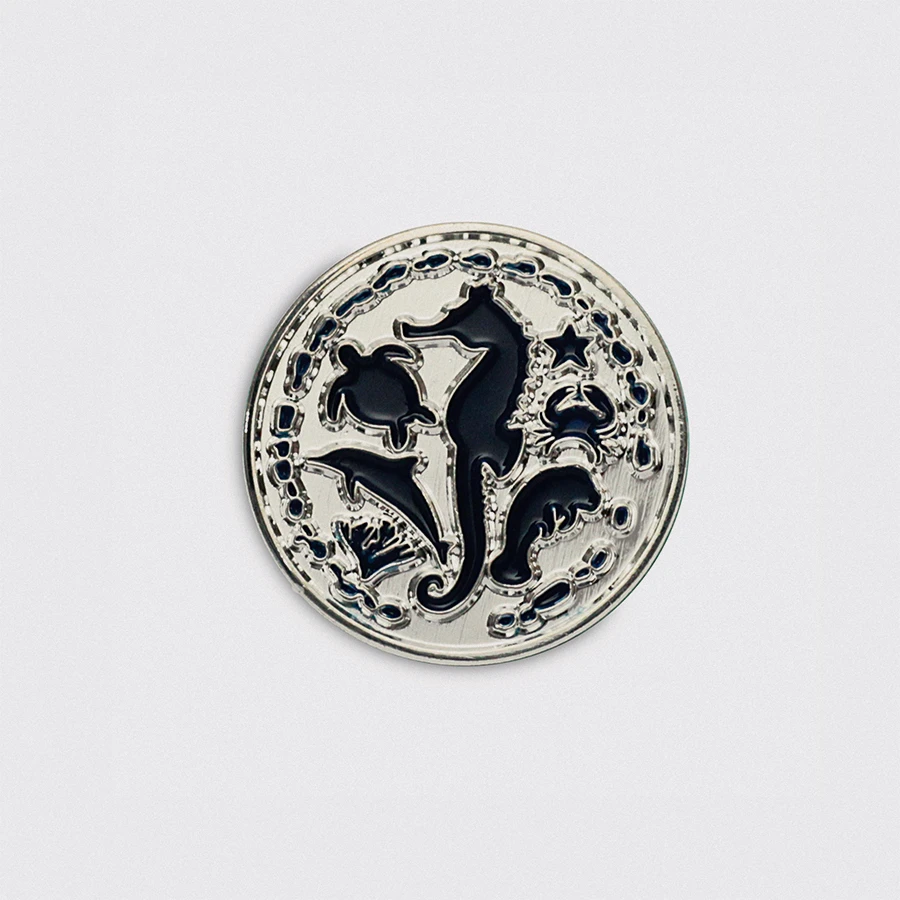
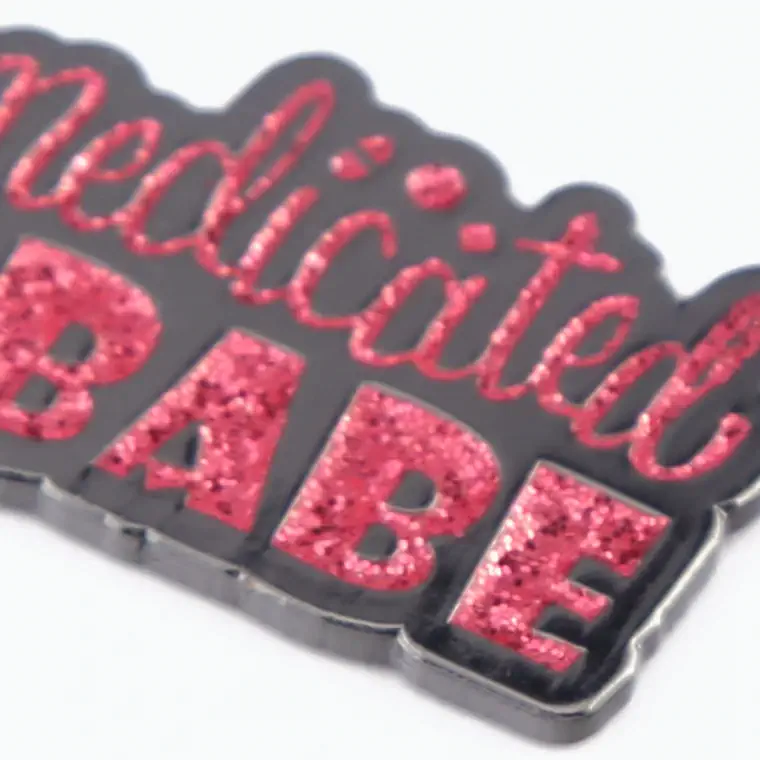
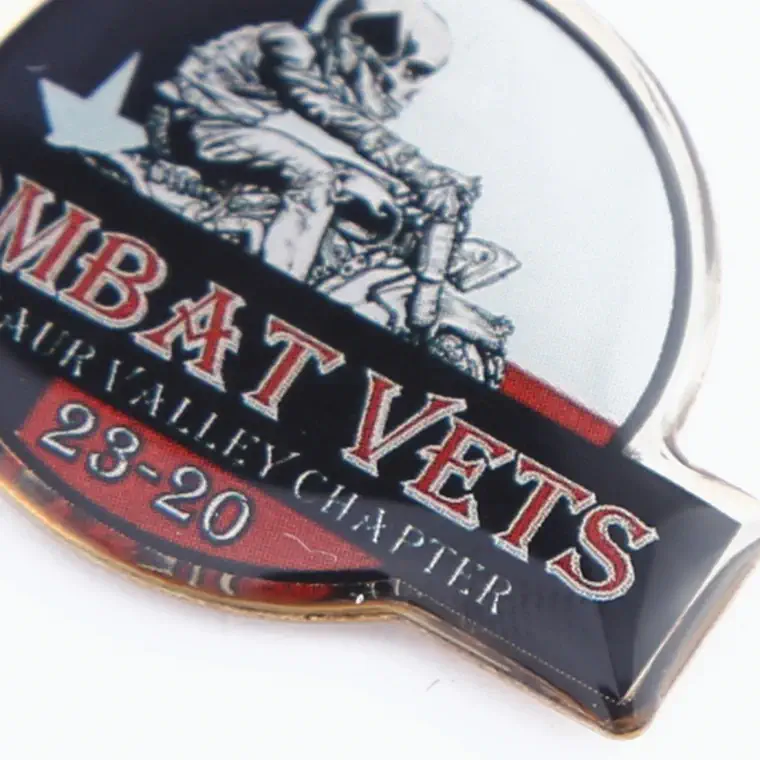
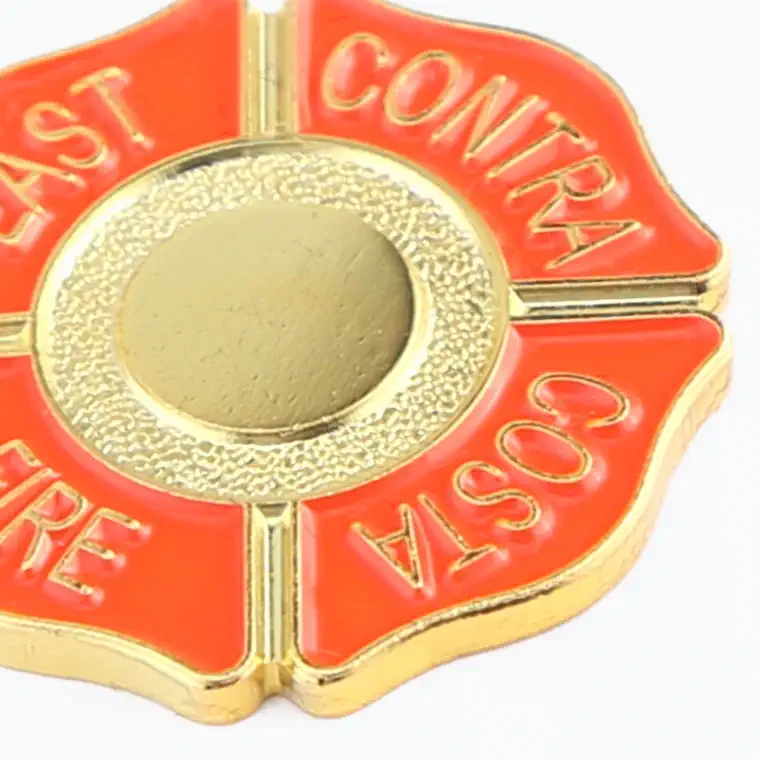
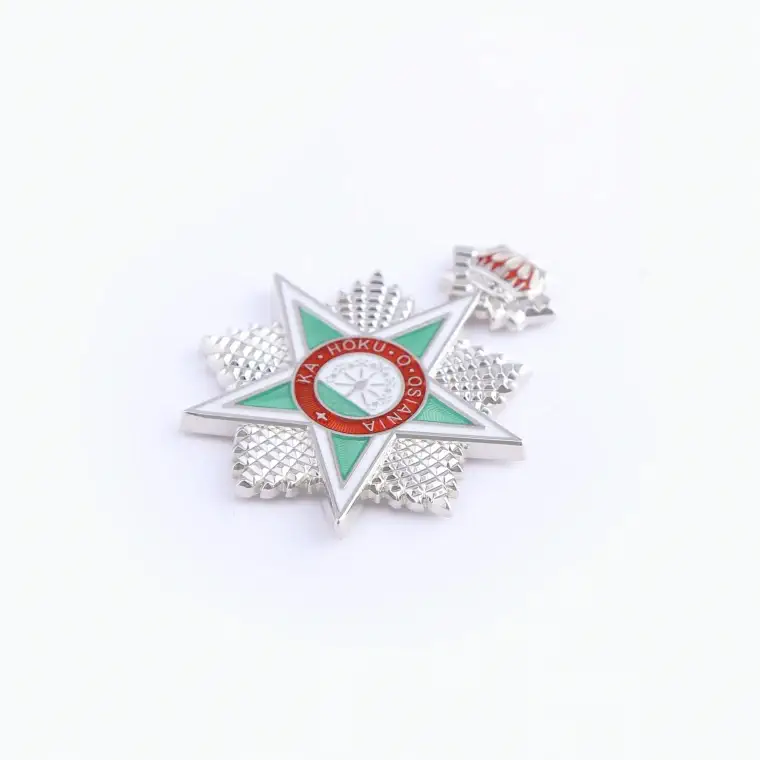
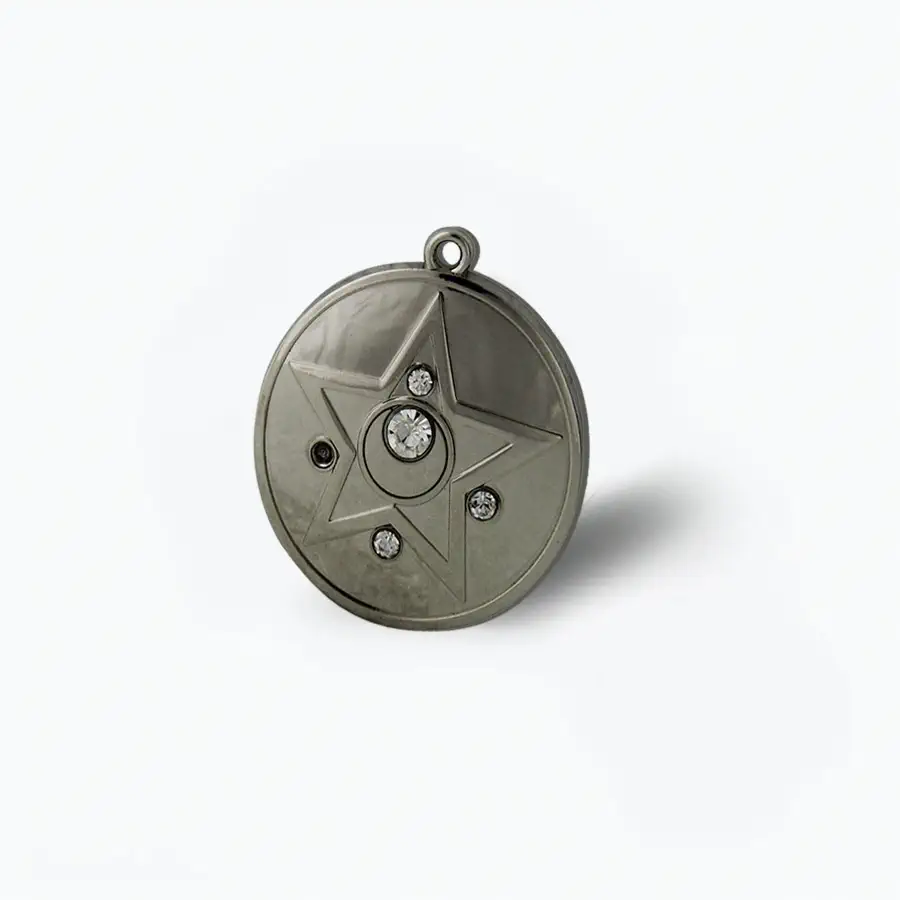
Popular Trading Pins


Create Fully Customizable Trading Pins
Create an on-brand lapel pin designed with your aesthetic, your goals, and your customers in mind. With more customization options than any other lapel pin manufacturer in the world, you’ll enjoy unlimited combinations to make a truly one-of-a-kind lapel pin. Here’s a glimpse at what you’ll be able to customize:
Customizable Pin Types
When you choose a style of pin, you’re choosing how the pin will look – and even feel.
Soft Enamel Pins (most popular)
This type of pin uses enamel that forms "valleys" between the metal lines.
Hard Enamel Pins

These pins uses enamel that is polished flat across the design's surface. Also known as cloisonné pins.
Die Struck
In this style, the design uses raised and recessed metal - just like a coin.
Offset Printing with Thin Epoxy Coating
A printed, photorealistic design is protected with a flat, single epoxy layer.
Offset Printing with Thick Epoxy Dome
The design is printed using offset plates. A thick epoxy coating is then applied, creating a dome shape.
Pin Material Color/Finish
You have a lot more options than silver and gold. Our unique plating process allows you to choose from over a dozen types of metal finishes for your pin.
Shiny Gold
A gold finish with a polished surface.
Shiny Gunmetal

A dark-gray finish with a polished surface.
Shiny Silver
A silver finish with a polished surface.
Black Paint
A metal base coated in matte black paint.
Antique Gold
A gold surface with a distressed, vintage-looking finish.
Antique Silver
A silver finish with a distressed, vintage-looking finish.
Shiny Rose Gold
A rose gold finish with a polished surface.
Shiny Brass
A brass finish with a polished surface.
Antique Brass
A brass finish with a distressed, vintage-looking finish.
Antique Nickel
A nickel finish with a distressed, vintage-looking finish.
Shiny Copper
A copper finish with a polished surface.
Antique Copper
A copper finish with a distressed, vintage-looking finish.
Brushed Brass
A brass finish with a brushed, rough look.
Material Colors
Keep things simple or opt for a multi-tonal pin base by choosing two metal colors of the same finish.
Single Metal Color
Select one color and finish from the above list, free of charge.
Two Metal Colors
Select two colors in the same finish (antique or shiny) to add interest and create a multi-tonal base for an additional charge.
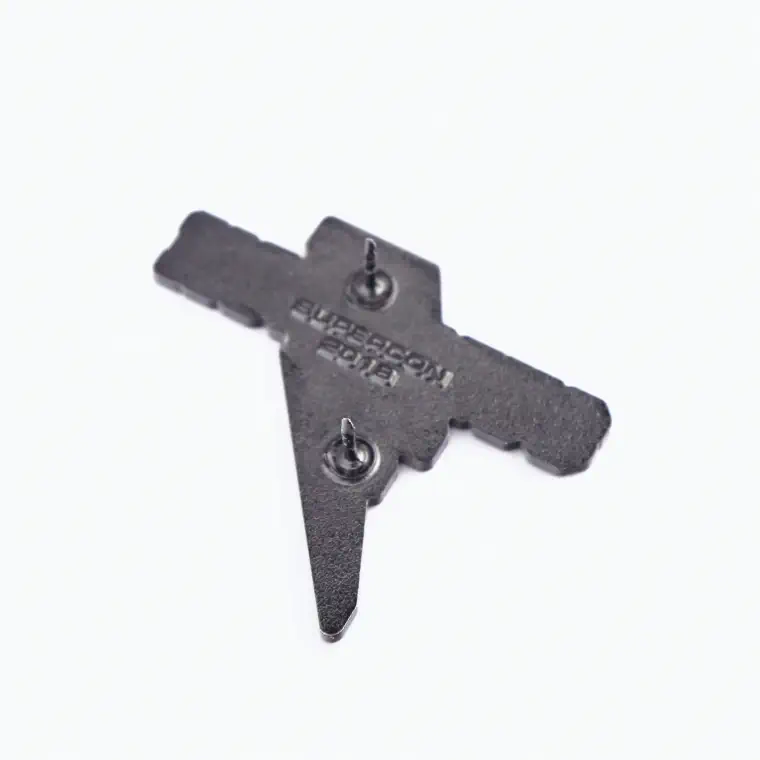
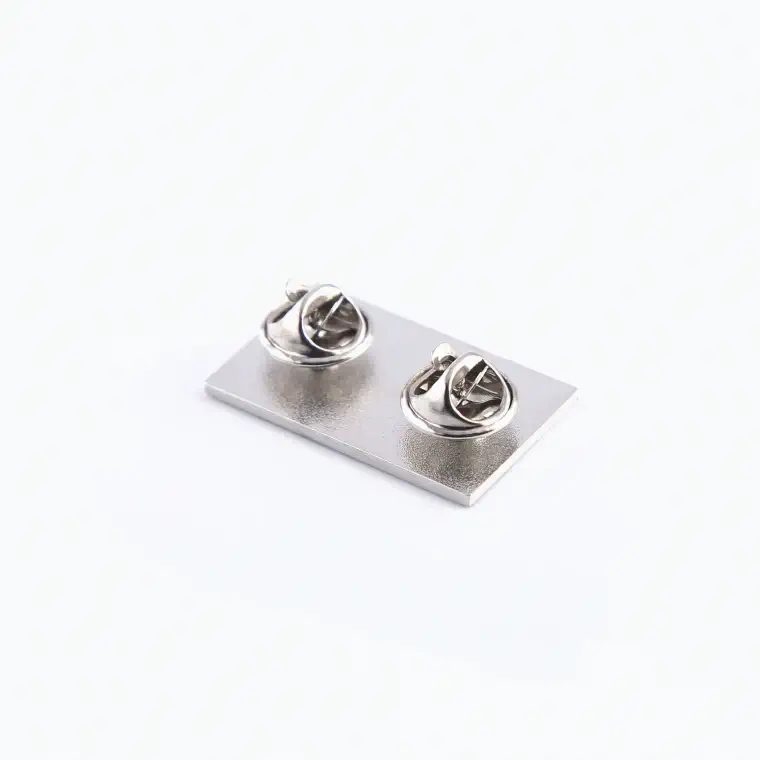
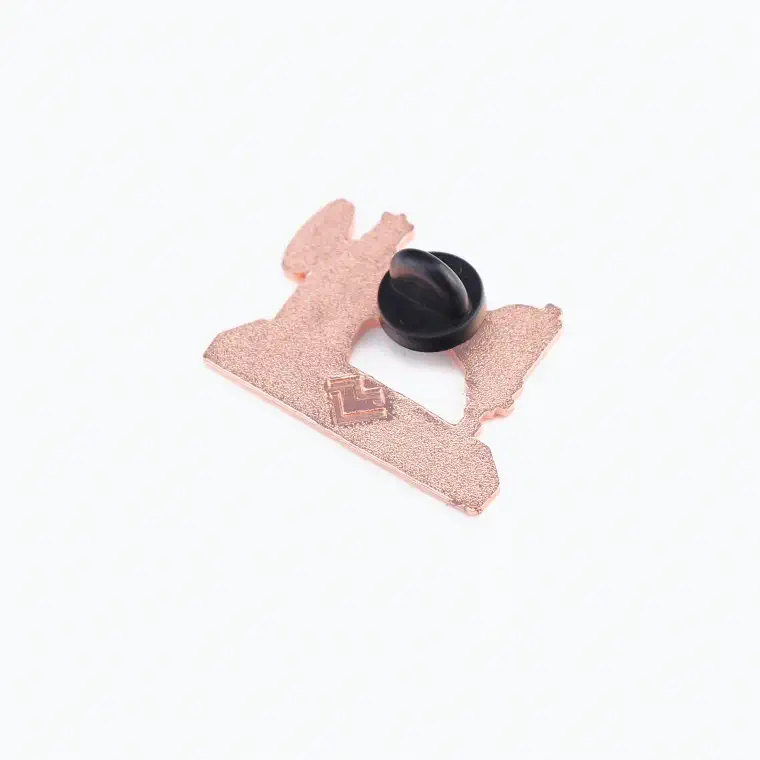
Backing Attachments
Make sure your pin stays put. Choose from 8 secure pin backing options.
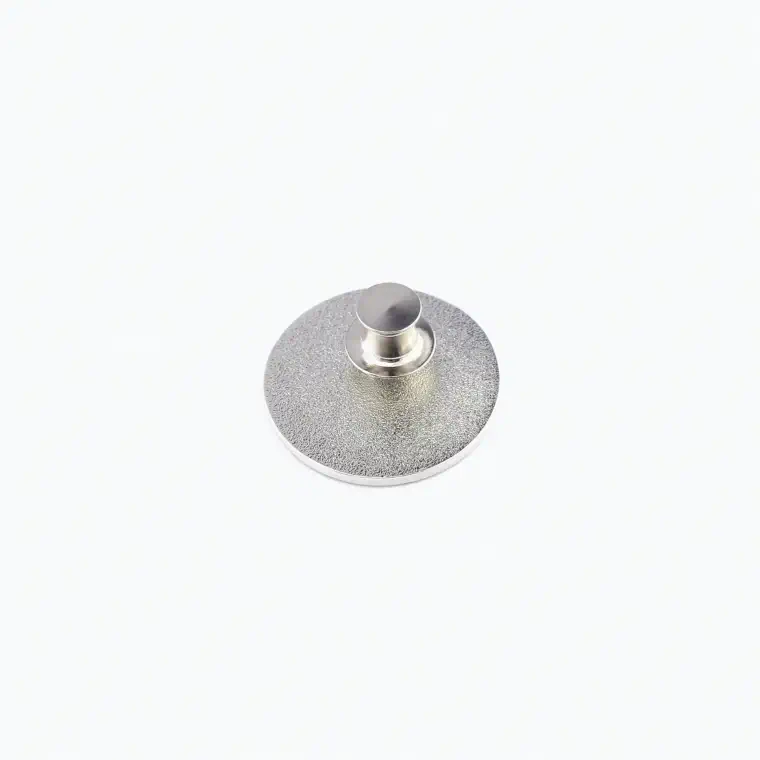
Butterfly Clutch

Traditional pin backing.
Rubber Clutch (Black)
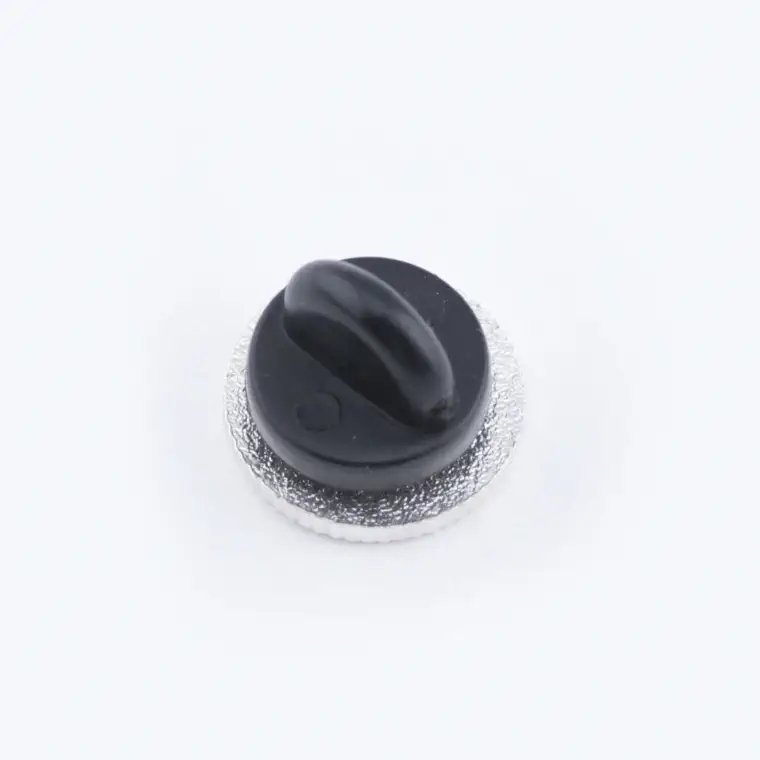
Pin backing secured with a black rubber closure.
Rubber Clutch (Yellow)
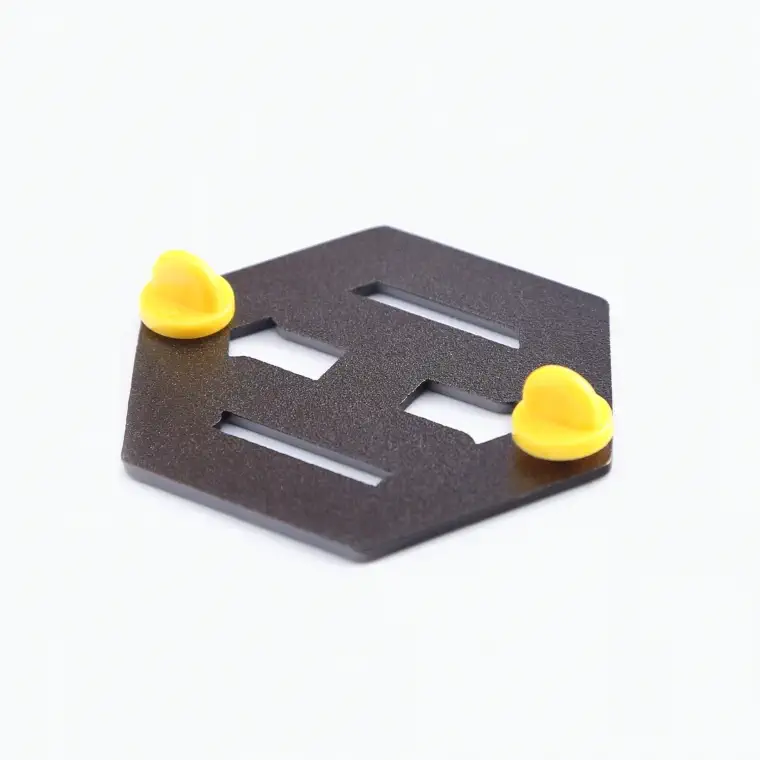
Pin backing secured with a yellow rubber closure.
Deluxe Clutch
A traditional butterfly clutch elevated with a brushed metal finish.
Safety Pin
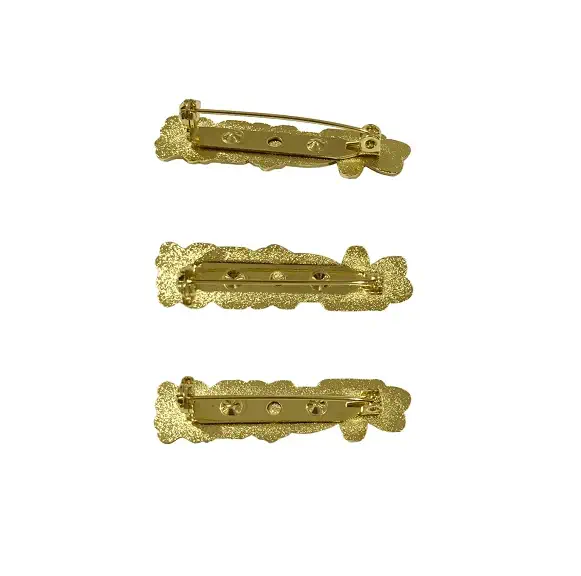
Traditional safety pin backing.
2-Piece Magnet

Magnetic backing attached to the pin, with a second magnet included.
Bar Magnet
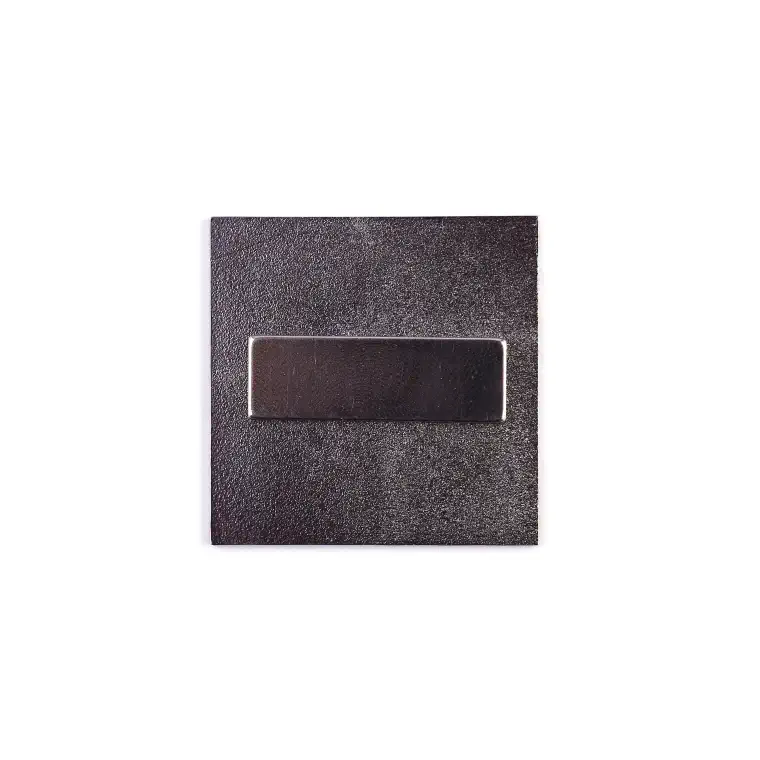
Rectangular magnetic backing is attached to the pin, with a second magnet included.
Bent Legs
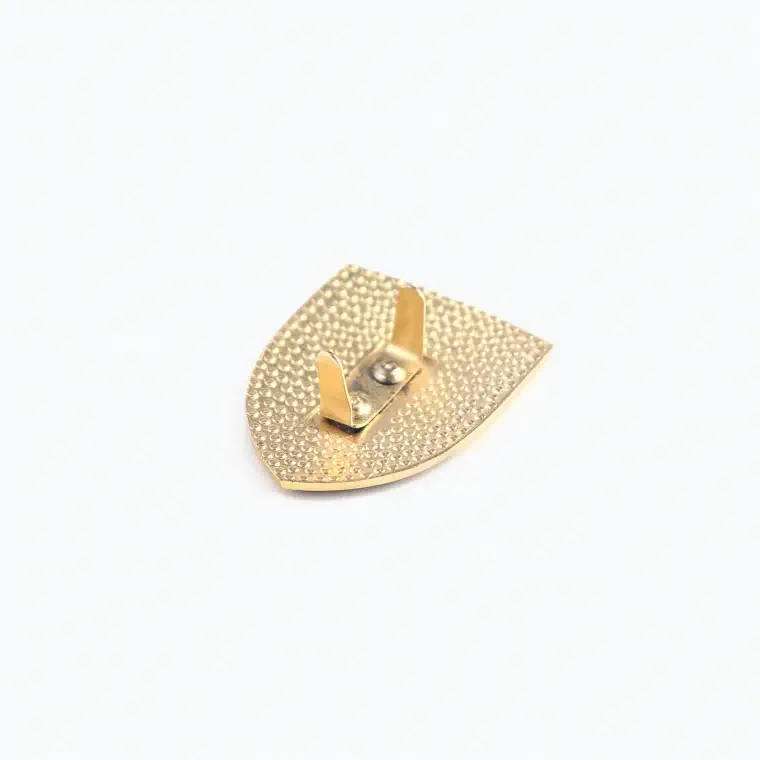
Bendable metallic leg backing allows the pin to be attached to buttons.
Number of Colors in Your Pin Design
Keep your pin monochromatic or make it burst with vibrant color. Choose how many colors you’ll use in your pin design, from 1 to 21+.
No Colors

Choose this option for metallic designs with no added color.
1-5 Colors
Choose this option for designs that use 1-5 colors.
6-8 Colors
Choose this option for designs that use 6-8 colors.
9-10 Colors

Choose this option for designs that use 9-10 colors.
11-13 Colors
Choose this option for designs that use 11-13 colors.
14-15 Colors
Choose this option for designs that use 14-15 colors.
16-17 Colors
Choose this option for designs that use 16-17 colors.
18-20 Colors
Choose this option for designs that use 18-20 colors.
21+ Colors
Choose this option for designs that use 21+ colors.
Unlimited Colors – Printed Design
Choose this option for printed designs that use any amount of colors.
Upgrades
For personality-packed designs you just can’t pin down. Take your lapel pins to the next level with optional upgrades.
Glitter Enamel
We’ll mix glitter into the enamel paint before pouring for a subtle shimmer.
Embossed on Back Side
Add recessed text or design to the back of your pin.
Extra Backing Attachment
Add an additional backing attachment for extra stability.
Engraved Letters or Numbers

Add a message or sequential numbering to the back of your pins.
Thin Epoxy Coating
Add a thin epoxy coating to the surface of your die struck, 3D mold, or enamel pins.
Rhinestones
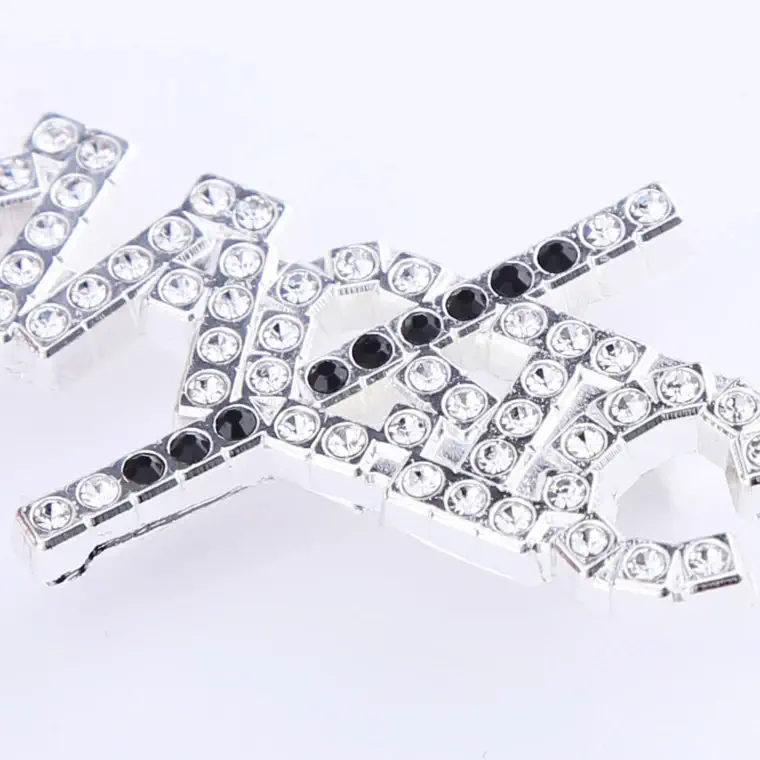
Add glitz and glam by embedding rhinestones on your pin.
Glow-in-the-Dark Enamel
Add glow-in-the-dark enamel to make your lapel pins turn heads, even at night.
Debossed on Back Side
Add raised text or a design to the back of your pin.
Coarse Sand Blasting
We’ll use coarse grit to create a rough texture on your pin.
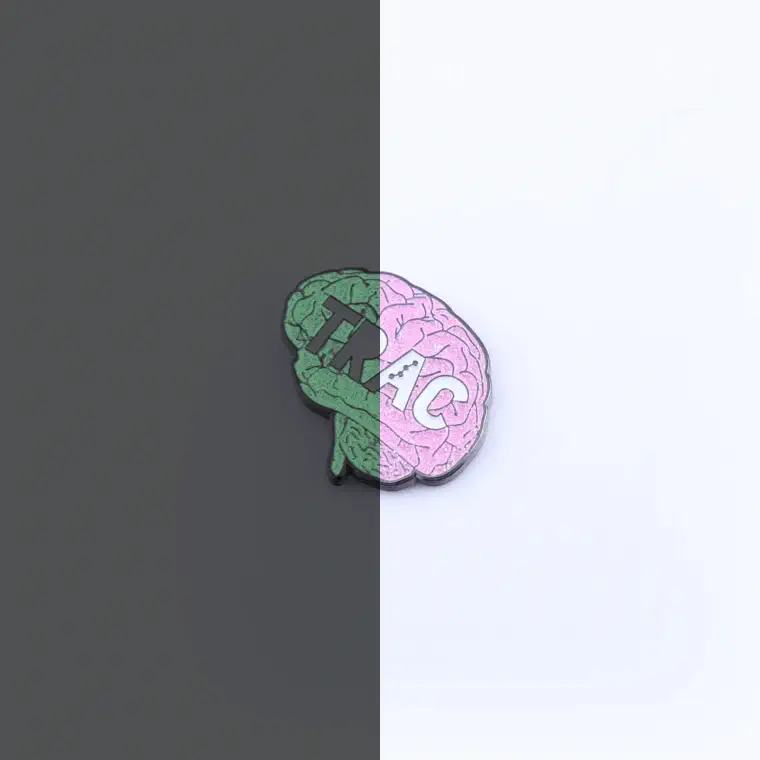
Translucent Enamel
Add clear, lightly colored enamel to reveal your pin’s metallic finish on the other side.
Aluminum Core Metal
Decrease your pin’s weight by selecting an aluminum core.
How to Make Your Custom Trading Pins
Our DIY product creation tool makes it easy to order your first batch of custom pins. Here’s how it works:
Step 1: Start With The Basics
Select your ideal pin size and how many you plan to order. The smaller the pin and the more you buy, the lower your price, but our low MOQ also allows you affordably to test out a small batch of a new design.
Step 2: Fill out the Details
Customize every aspect of your order, down to the packaging. Need custom backer cards to be retail-ready? We’ve got you covered.
Step 3: Submit Your Design
Upload your own artwork, or get help from our free design service. We’ll make your ideas factory-ready in no time at all.
Step 4: Approve a Sample
After you place your order, we’ll send a digital sample or a physical prototype for you to approve.
Step 5: Receive Your Pins
Enjoy free shipping in the U.S. or select rush service if you’re in a hurry. All of our pins come backed with our 100% satisfaction guarantee.
Need Assistance?
Have questions or need guidance? Our team is here to help with anything you need. Let us make the process seamless for you.
Contact us
THE/STUDIO Technologies
1055 E. Colorado Blvd., Suite 500
Pasadena, CA 91106
Join The Custom Collective
Subscribe now get exclusive tips, expert insights, and the latest trends in custom merchandise delivered straight to your inbox!
Copyright © 2026 THE/STUDIO. All rights reserved.